Payments Transaction Search
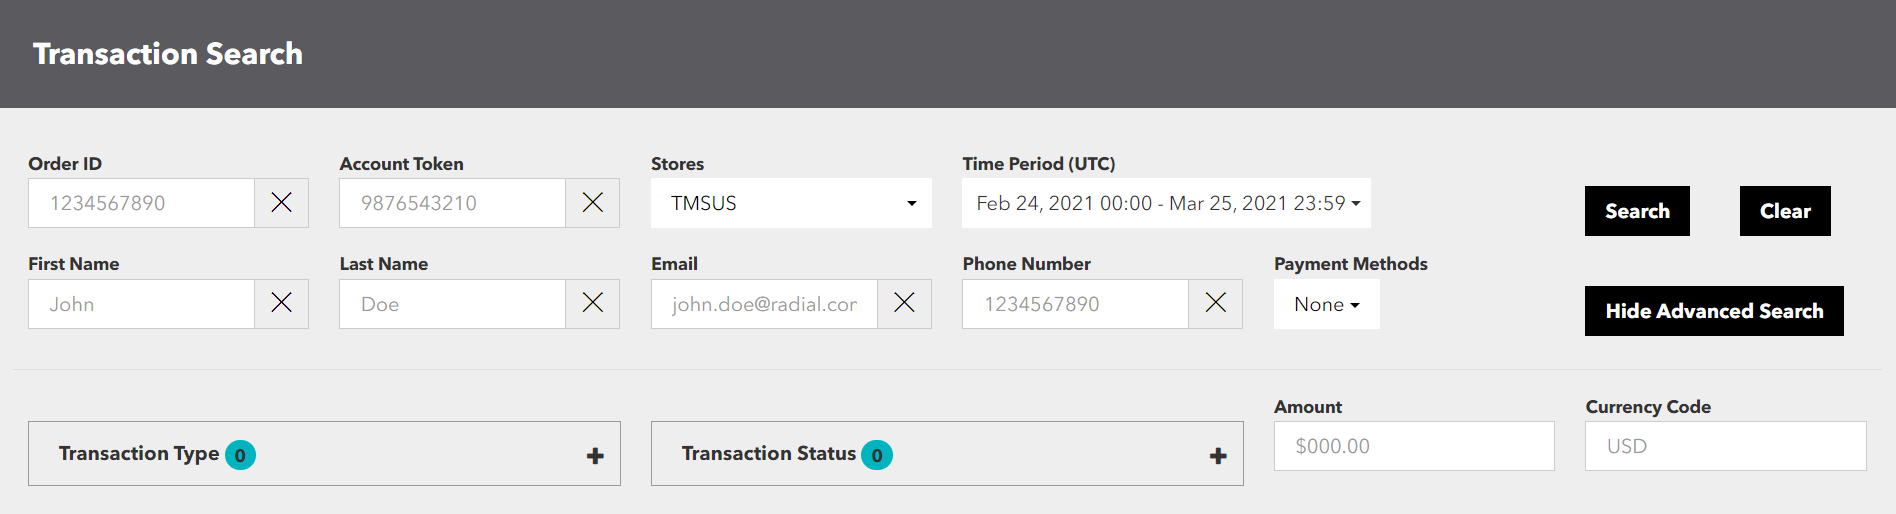
To search for payments transactions, in the Payments Menu, select Transaction Search.
Note: When you submit a request to the Payments Service, there can be a delay of several minutes before the transaction appears in the search results in Payments Transaction Search.
Note: The search page has an imposed limit of 2000 records displayed. If your search returns more than 2000 records, only the first 2000 can be viewed on the Search page. The entire records set, however, is available using the Download CSV feature.
Search for a specific transaction
To find a specific payments transaction:

- Enter a value in one or both of the following fields:
- Order ID
- Account Token (for credit card transactions, this is the tokenized PAN or card number)
- Make sure the date and time range specified in the Time Period field includes the time the order was submitted. All time values are in UTC. See Select a date and time range for a search, below.
- Click Search.
Search for a specific transaction by the transaction amount
To find a specific payments transaction based on the exact amount of the transaction.
- Make sure the date and time range specified in the Time Period field includes the time the order was submitted. All time values are in UTC. See Select a date and time range for a search, below.
- Click Advanced Search. Additional search fields display.

- In Amount, enter the amount of the transaction.
- In Currency Code, enter the currency code for the transaction.
- Click Search.
Select a date and time range for a search
You can specify a range of dates for a payments transaction search, including the beginning and end clock times for the range. Only transactions submitted within the date and time range are included in the search results list. All times values are in UTC.
To select a date and time range:
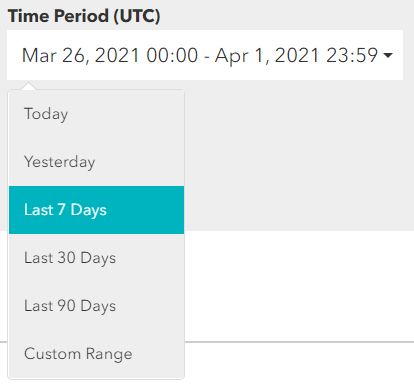
- Click the Time Period field. A list of options pops up.
- Select a time period option. The choices are Today, Yesterday, Last 7 Days, Last 30 Days, Last 90 Days, and Custom Range. The Time Period field displays the range you selected.
- If you select Custom Range, a calendar tool pops up. Use the calendar tool to make a specific selection:
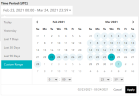
- If necessary, click the left arrow < button to display an earlier month in the calendar.
- In the calendar, click the start date of a date range. The date highlights in aqua.
- To select a multi-day range, click the end date. The beginning and end dates highlight in aqua, and dates in between highlight in gray.
- To select a start time on the start date, use the left-side hour and minute selectors. The default start time is 0:00 UTC.
- To select an end time on the end date, use the right-side hour and minute selectors. The default end time is 23:59 UTC.
- Click Apply. The Time Period field displays the range you selected.

Search for transactions for a specific customer
To find all transactions for a specific customer:
- Enter a value in one or more of the customer search fields: First Name, Last Name, Email, Phone Number. These are exact-match search fields, so if you enter a value in Email, for example, it must be the customer's complete email address.
- In Time Period, select a range of dates that includes the orders you are looking for. See Select a date and time range for a search, above.
- Click Search.
Search for multiple transactions
To find multiple transactions:
- In Time Period, select a range of dates that includes the orders you are looking for. See Select a date and time range for a search, above.
- To select one or more payment methods for your search:
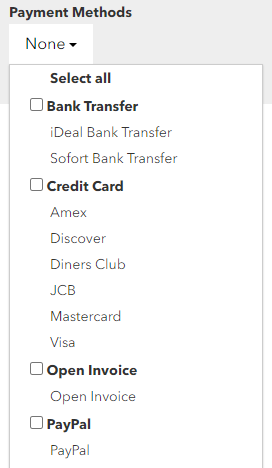
- Click Payment Methods. A payment methods selector pops up. The options you see may vary according to which payment methods have been implemented for your store.

- Make one or more selections:
- To include all payment methods, click Select All. The entire list highlights in blue to show that all items are selected.
- To include all payment methods within a category, click the check box next to the bolded category name. For example, for all credit card types, click the check box next to Credit Cards. All items in the category highlight in blue.
- To include an individual payment method within a category, click the name of that item. The item highlights in blue.
- To remove a blue highlighted item from the selection of payment methods, click the item. The highlight is removed, and the item is removed from the selection.
As you change your selections, the Payment Methods field updates to show the number of items selected.
- Click Payment Methods. A payment methods selector pops up. The options you see may vary according to which payment methods have been implemented for your store.
-
To select from additional search options, click Advanced Search.
- Click Search
Advanced search for multiple transactions
To perform an advanced search for payments transactions:
- In Time Period, select a range of dates that includes the orders you are looking for. See Select a date and time range for a search, above.
- Select one or more Payment Methods for your search.
- Click Advanced Search. Advanced search fields display, including Transaction Type and Transaction Status. These two fields includes lists and sublists of options with check boxes.
Note: Advanced search fields also include Amount and Currency Code. See Search for a specific transaction by the transaction amount, above.
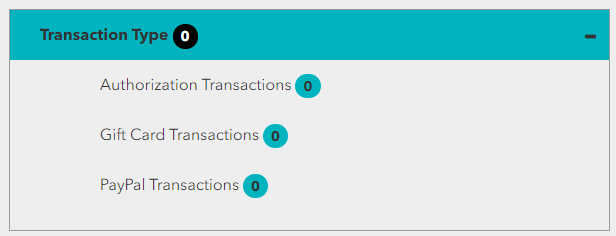
- To select options for Transaction Type or Transaction Status:
- Click the field name. A list displays the categories from which you can make selections.
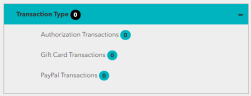
- To select from a category, click the category name. A list of items displays, with a check box next to each item.
Select each desired check box to include that value in your search. When you make a selection, the aqua-circled number next to the category name updates to show the number of items you have selected within that category. At the same time, the black-circled number next to the field name shows the total time of selections for that field.
- To collapse a category list, click the category name again.
- When you are done making selections for a field, click the field name to collapse it.
For example, to perform a search that returns PayPal transactions that failed or timed out, select TransactionType > PayPal Transactions > All PayPal Transactions, and in the Transaction Status > Transaction Statuses sublist, select both Failed and Timed Out.
- Click the field name. A list displays the categories from which you can make selections.
- Click Search.

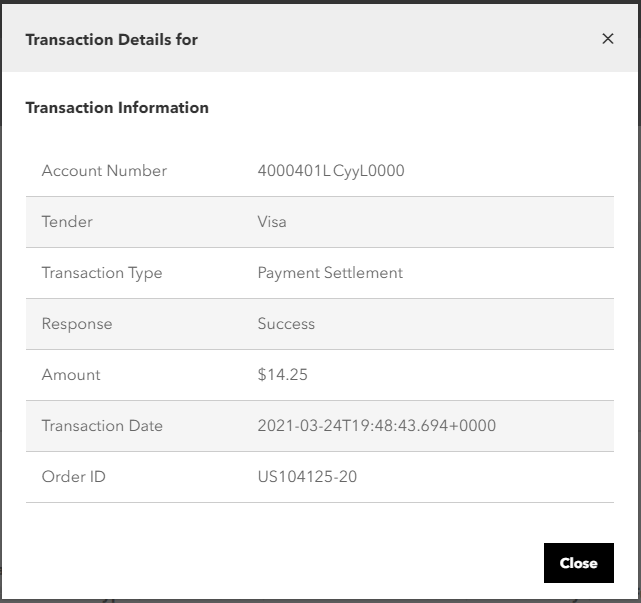
View payment transaction details
When a payment transaction appears in the search results, you can view additional information for the specific transaction.
- To view a transaction’s details, click the link on the Transaction ID value. A Transaction Details popup displays.
- To close the popup, click Close.
Find other transactions for the same token
When a payments transaction appears in the search results, you can do a quick search for all payments transactions involving the same payment card.
To view all transactions for a payment card, click the link on the Token value. A search is performed for transactions that match that value, and the results are displayed.
Remember, for credit card transactions the Token is the tokenized value of the PAN or card number.
Work with a list of search results
When your search returns a list of results, you can do any of the following:
- Sort the list of results by any of the columns. To sort, click the sort button next to the column header. To reverse the sort order, click the sort button a second time. If your results set spans multiple pages, the sorting applies across all records in the set, not just the records visible on the current page.
- View more or fewer items on a page. To change the number of items per page, select from the [Number] per page popup menu. The choices range from 10 per page to 50 per page.
- Download the set of search results as a CSV file. To download the results, click the Download CSV button. The CSV file includes the full set of search results, even if there are too many results to display on the web page.