Create an Order
If you are a store associate or customer service representative (CSR), you may need to take an order for a customer.
To create an order:
- Click or tap the
 icon in the upper-left corner. The Main Menu appears.
 - Click or tap Orders. The Order Lookup screen appears.

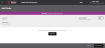
- Click or tap the Add button in the Action Bar. The Add Order popup appears.

- Select the source of the new order from the dropdown:
- In Store
- Customer Service
- Select the currency for the payment from the payment from the dropdown.
- Select the locale from the dropdown.
- Click or tap the Continue button. The Add Order screen appears.
- Add the billing address:
- Click or tap the Edit button.
- Select Billing Address from the dropdown. The Billing Address popup appears.
- Enter the shopper's billing information.
- Click or tap the Save Changes button. The system validates the address. If the address is valid, the popup disappears and the address displays on the Add Order screen. If the address is not valid, an error message displays. You can then fix the error(s) and resave the address.
- Add the payment information:
- Click or tap the Edit button.
- Select Edit Payment Info from the dropdown. The Payment & Promotions popup appears.
- Enter the shopper's credit or debit card information, then click or tap Apply.
- If the shopper wants to use a gift card, enter the gift card information, then click or tap Apply. To check the balance on a gift card, enter the information and click or tap Check Balance.
- Click or tap the Close button.
- If the shopper has a promotion code:
- Click or tap the Edit button.
- Select Edit Promo Codes from the dropdown. The Add Promo Codes popup appears.
- Enter the promo code(s), then click or tap Apply. The system validates the code. If the code is valid, the system recalculates the order total, taxes, duties, and fees. You return to the Add Order screen. If the code is invalid, you receive an error message. Correct the error, and click or tap the Apply button.
- Click or tap the Close button.
Enter the order line items. For the first order:
- Click or tap the Add Item button. The Product Search screen appears.
- Enter your search criteria (SKU, Style, Web Product ID, or Product Title), and click or tap the Search button. The system displays the results of the search.
- Enter the quantity of the item.
- Click or tap the Add button. The system ensures that the quantity you entered is available and meets the quantity parameters established for the store. If it does, the system calculates the item cost and Total Merchandise cost for the order, and displays an address popup.
- Enter the shipping address:
- On the address popup, enter a new shipping address or select an existing shipping address. Shipping addresses are linked to billing addresses.
- To enter a new shipping address for the order, click or tap the Add New Address button, then enter the address.
- Once you've entered a new address or selected an existing address, click or tap the Continue button. The Shipping Method popup appears.
- Select a shipping method.
- Click or tap the Save Changes button. The Add Order screen appears and shows the newly added information.
The newly added item is shown in a group. To continue adding items to the group, click or tap the Add Item button and follow the preceding steps.
- For each group, you can edit:
- The shipping address, by selecting an existing address or changing the address you entered earlier.
- The shipping method.
To perform these edits, click or tap the Edit dropdown and select the applicable task.
- For the entire order, you can edit:
- The billing address.
- The payment information.
- The promo code information.
To perform these edits, click or tap the Edit dropdown and select the applicable task.
- When you have finished adding items and editing the order and/or group information, click or tap the Submit Order button.
- If you created the order in store, a receipt prints. When the receipt is complete, give it to the customer.
Create a Zero Cost Order
Sometimes Customer Service Representatives must submit orders that the customer doesn't pay for. Reasons for these zero cost orders include:
- Sending appeasements to customers
- Sending display items to stores
- Sending items to high-profile customers.
To use this feature, you must have the appropriate permission. Normally, only Customer Service roles have this permission.
As you create the order, you will notice that:
- Edit Promo Codes button is not visible.
- Line items and shipping costs are zero.
- There is no tax calculation.
- Shipping methods are based on eligible shipping methods.
To create a zero cost order:
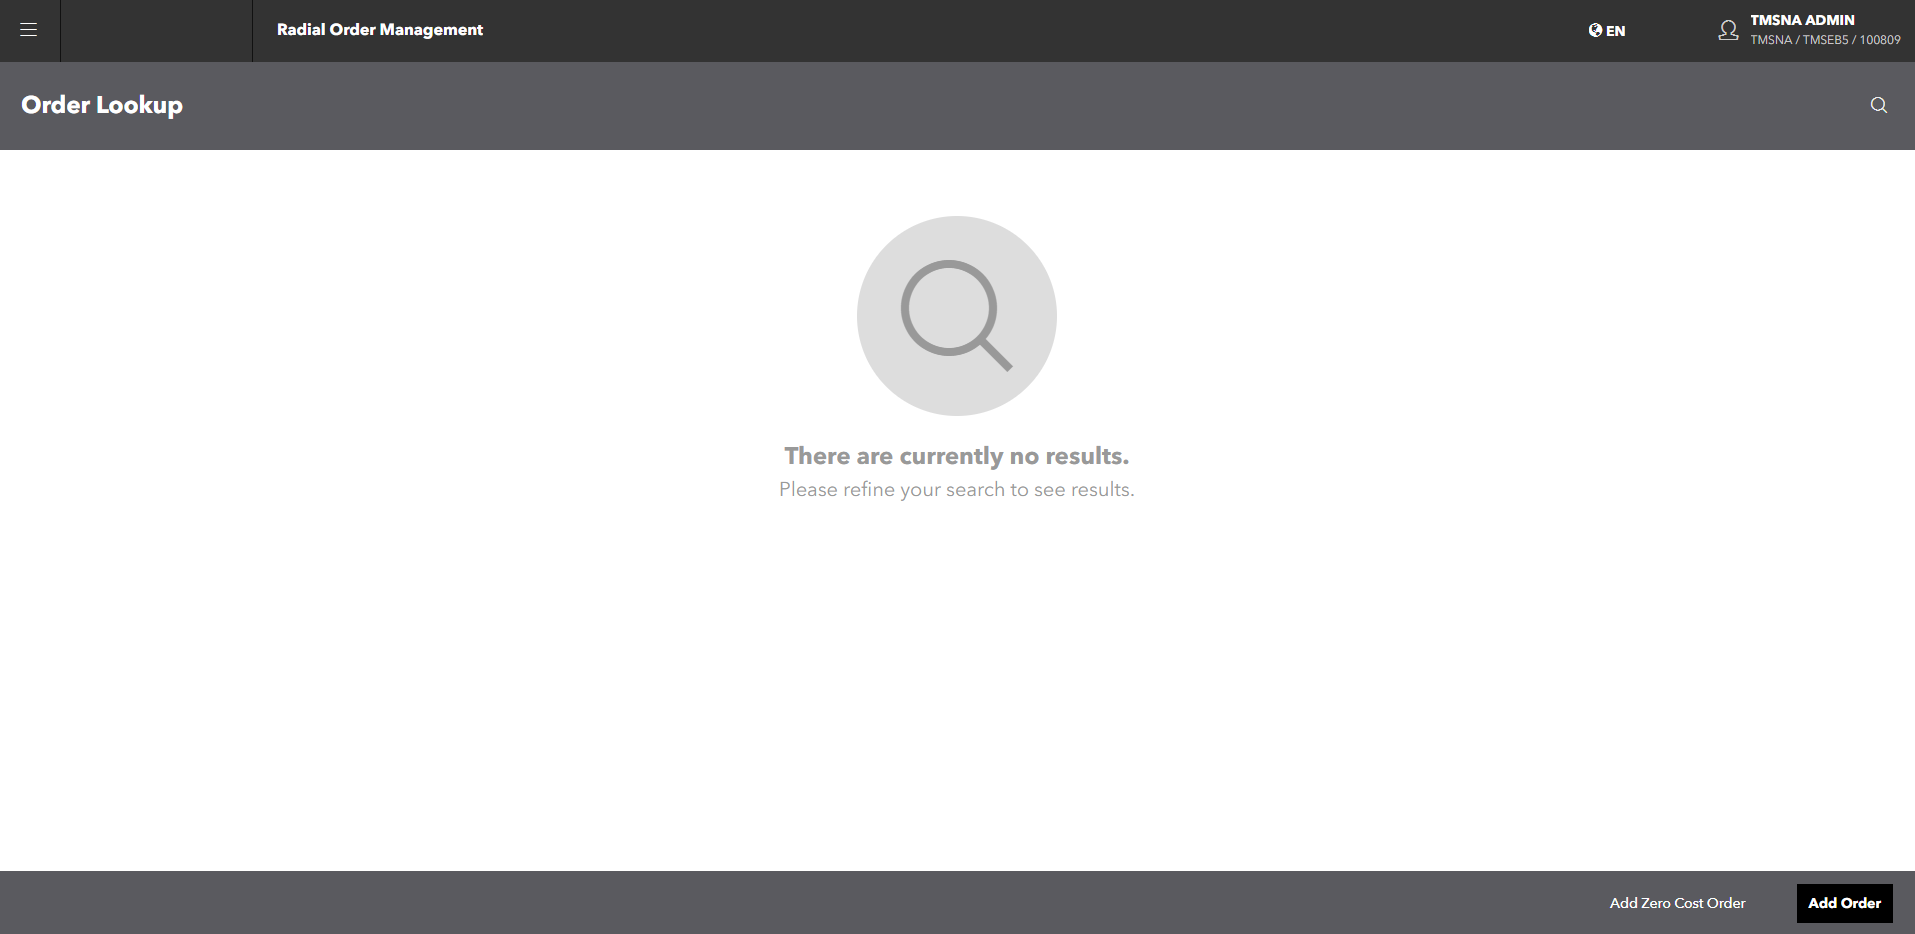
- From the Main Menu, click or tap Orders. The Order Lookup screen appears, with the Add Zero Cost Order button in the action bar. If you don't see this button, you don't have permission to use the feature.
- Click or tap the Add Zero Cost Order button. The Add Order popup appears.
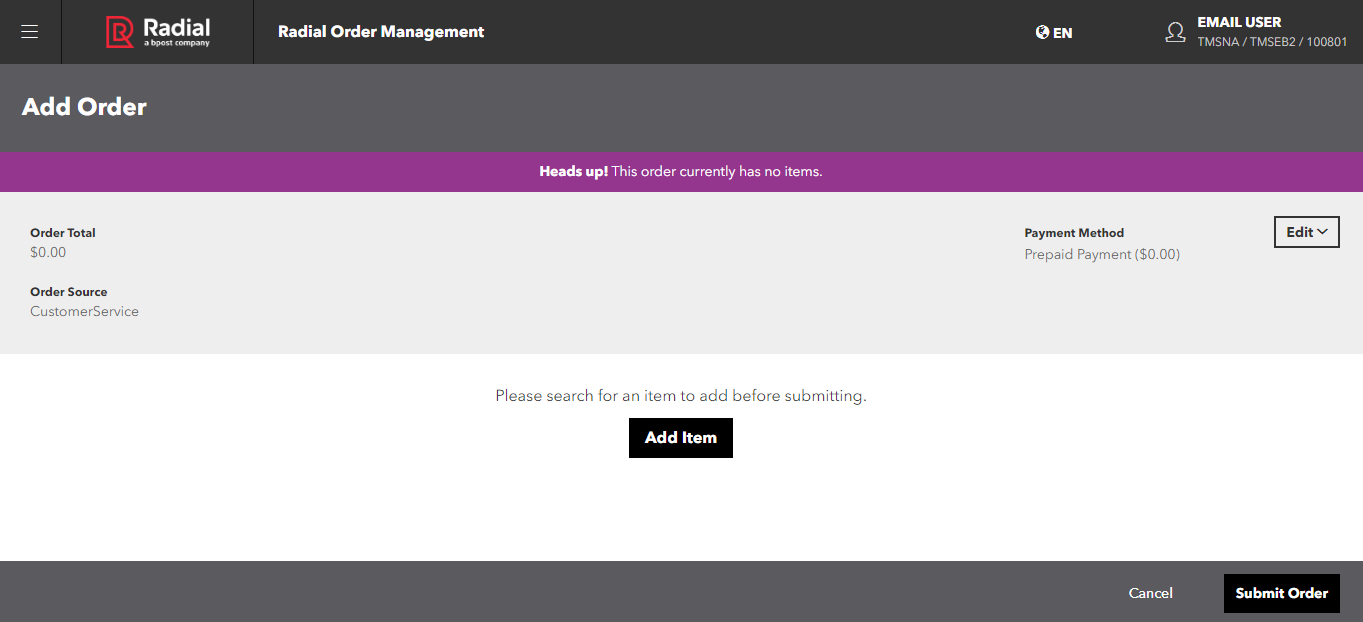
- Enter the Source, Currency, and Locale, then click or tap Continue. The Add Order screen appears.
This screen shows that the order total is $0.00 and the payment method is prepaid. You cannot change these values.
- Add the billing address:
- Click or tap the Edit button.
- Select Billing Address from the dropdown. The Billing Address popup appears.
- Enter the shopper's billing information.
- Click or tap the Save Changes button. The system validates the address. If the address is valid, the popup disappears and the address displays on the Add Order screen. If the address is not valid, an error message displays. You can then fix the error(s) and resave the address.
Enter the order line items. For the first order:
- Click or tap the Add Item button. The Product Search screen appears.
- Enter your search criteria (SKU, Style, Web Product ID, or Product Title), and click or tap the Search button. The system displays the results of the search.
- Enter the quantity of the item.
- Click or tap the Add button. The system ensures that the quantity you entered is available and meets the quantity parameters established for the store. If it does, the system calculates the item cost and Total Merchandise cost for the order, and displays an address popup.
- Enter the shipping address:
- On the address popup, enter a new shipping address or select an existing shipping address. Shipping addresses are linked to billing addresses.
- To enter a new shipping address for the order, click or tap the Add New Address button, then enter the address.
- Once you've entered a new address or selected an existing address, click or tap the Continue button. The Shipping Method popup appears.
- Select a shipping method.
- Click or tap the Save Changes button. The Add Order screen appears and shows the newly added information.
The newly added item is shown in a group. To continue adding items to the group, click or tap the Add Item button and follow the preceding steps.
- For each group, you can edit:
- The shipping address, by selecting an existing address or changing the address you entered earlier.
- The shipping method.
To perform these edits, click or tap the Edit dropdown and select the applicable task.
- For the entire order, you can edit the billing address by clicking or tapping the Edit dropdown.
- When you have finished adding items and editing the order and/or group information, click or tap the Submit Order button.