Manage Node Calendars
Overview
Shipping Calendars specify the available work shifts for the fulfillment nodes in your organization. After you configure your Shipping Calendars, you associate them with the nodes. When the system sources orders, it uses the Shipping Calendars to determine whether and when an order can be shipped from a node.
Setting Up Shifts
The setup of working days and hours at the nodes determines the way you set up the node calendars.
- If all the fulfillment nodes have the same working days and hours with the same number of Max Items, you can create one node calendar and associate it with all of the nodes.
- If the fulfillment nodes have different working days/hours or different max item thresholds, you can create individual node calendars and assign them to individual nodes.
Some clients choose to have a 24-hour shift to drop orders to the node continuously. Other clients choose to have the shifts equal to the hours the store is open.
If your nodes (stores) are open for the same hours seven days a week, then you can activate the Working Day toggle to enable the Default Day.
ROM does real-time order allocation. If the node the order is being routed to is not yet "open." the order lines are scheduled to that store and released at the start of the shift time. SLAs start as soon as an order is released to a node.
If your stores have different hours based on the day of the week, then create schedules for each day of the week.
For example, assume that the node is open Monday through Friday from 9:00 AM to 9:00 PM. On Saturday, the node is open from 10:00 AM to 8:00 PM. On Sunday, the node is open from 11:00 AM - 6:00 PM. In this situation, you create a calendar for each day of the week. Be sure to enable the Working Day toggle.
Specifying Max Items
The Max Items field specifies the maximum number of items that can be allocated to a node during a shift. For example, assume you assign Max Items = 100 for Shift1, which runs from 9:00 AM to 9:00 PM. With this setup, ROM can release up to 100 items to any node assigned to that Node Calendar from within the day/shift. When a node reaches its Max Items limit, it no longer receive orders for that day/shift.
You can also use Max Items to ensure that your high foot-traffic stores don't take as many SFS orders. For example, assume that you have a group of fulfillment nodes with the same working days, hours, and max items. In this group, you have 10 high foot-traffic stores and 40 medium foot-traffic stores.
- For the high foot-traffic stores, you want to limit the orders to 80 items a day. Create a node calendar with a Max Item limit of 80 and associate that calendar with the 10 high foot-traffic stores.
- For the medium foot-traffic store, you want to limit the orders to 150 items a day. Create a node calendar a Max Item limit of 150 and associate that calendar with the 40 medium foot-traffic stores.
If an order can’t be assigned to any other nodes, the orders are then scheduled to a store and released to the store at the start of the next day/shift. These orders sit in a "scheduled" state and are allocated to the store.
There is no visibility into scheduled orders through the ROM UI at this time.
You can have multiple days/shifts of scheduled orders assigned to a store. For example, assume there are two stores, each with a Max Items setting of 40 per day/shift. Orders with a total of 240 items come in on Monday.
- Monday: Store 1 has 40 items released to it. Store 2 has 40 items released to it.(80)
- Tuesday at 9:00 AM: 40 items are scheduled to release Store 1 and Store 2 (160)
- Wednesday at 9:00 AM: 40 items are scheduled to release to Store 1 and Store 2 on (240)
These orders do not release early to the store regardless of whether the store successfully works through their 40 orders early within their shift. This is because the Max Items limit is about how many items they get sent each day as opposed to what is sitting in the store’s queue.
ISPU orders bypass the max item setting.
Best Practices
- Configure and test all changes to the Max Items in the UAT environment before making the changes in production. In addition to Max Items, conduct extra testing if using multiple shifts within a day.
- Carefully consider whether you want the Auto-Resourcing feature on when using the Max Items setting. If a backlog occurs and orders are scheduled to drop to nodes in future days, auto re-sourcing could result in orders being delayed. For example, assume an order has been in a scheduled state, waiting to drop to a store for one day. When the order drops to the store and misses its SLA, it is auto re-sourced to a new store that also has a backlog of scheduled orders. That order would then go to a back of a queue; effectively starting over and resulting in a longer fulfillment time.
Configuration Steps
To access Node Calendars:
- Click or tap the
 icon in the upper-left corner. The Main Menu appears.
 - Click or tap Omni Administration. The Omni Administration submenu appears.
- Click or tap Node Calendars. The Manage Node Calendars screen appears.
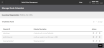
This screen displays all node calendars that have been configured for a Seller. From this screen, you can:

- View node calendars configured for a seller.
- Add, edit, and delete node calendars.
The Manage Node Calendars screen displays the following information:
- Calendar ID: Provided when a node calendar is created.
- Calendar Description: Provided when a node calendar is created.
- Actions:
 View Shipping Calendar.
 Edit Shipping Calendar.
 Delete Shipping Calendar.
Add a Node Calendar
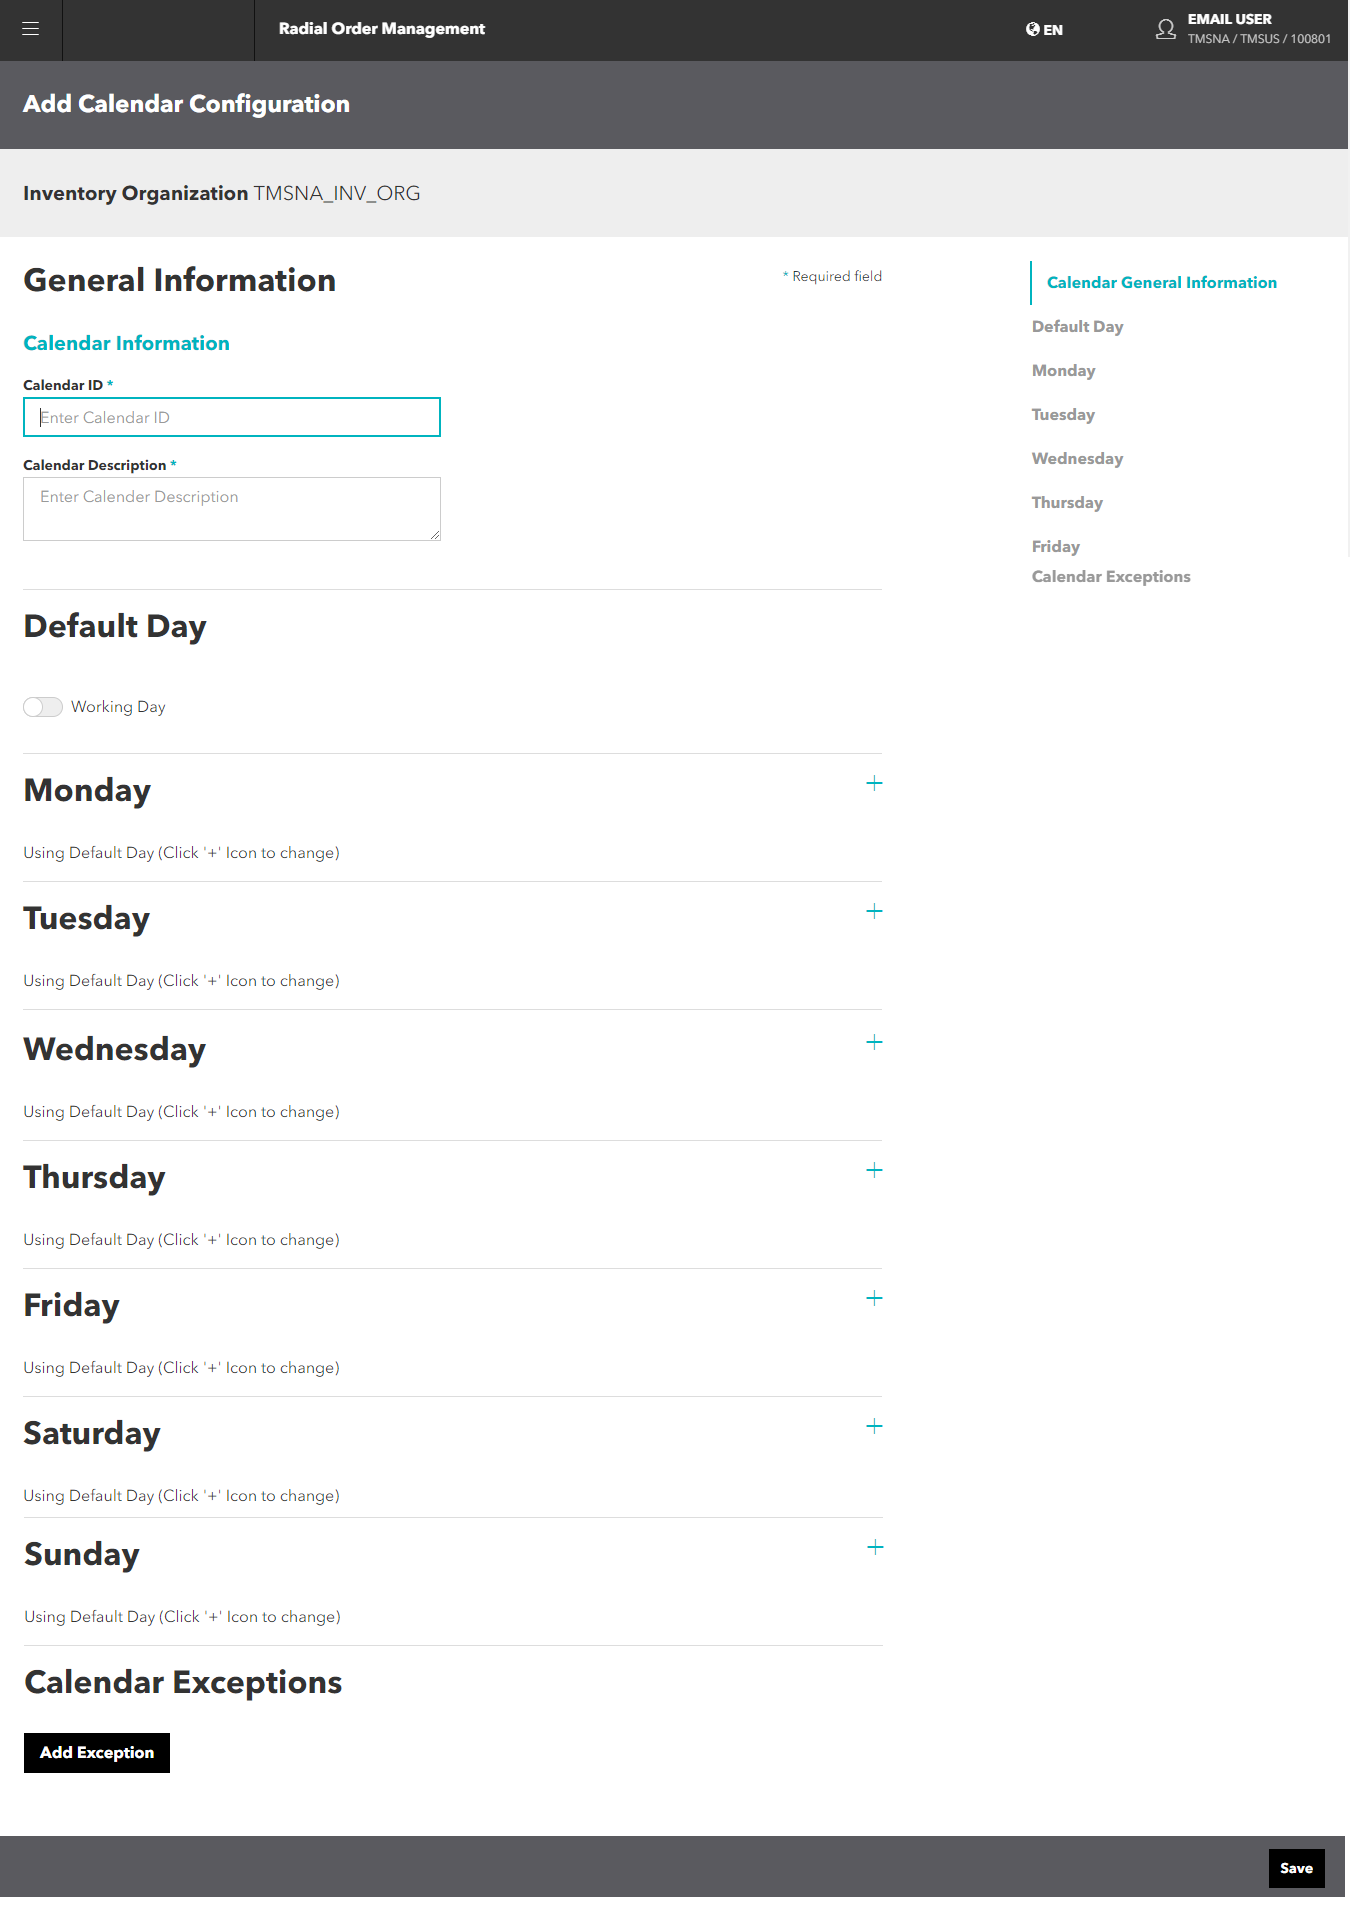
- From the Manage Node Calendars screen, click or tap the Add button on the action bar. The Add Calendar Configuration screen appears.

- Enter the Calendar ID.
- Enter the Calendar Description.
- If you have the same shifts and Max Items for most days of the week, you can define a Default Day. If you don't explicitly define the shifts/max items for a specific day, ROM uses the Default Day.
- Click or tap the Working Day toggle to identify that the Default day is the working day. When you turn on the Working Day toggle, the Cut-Off Time field and Shift1 appears.
- Enter the cut-off time for the default day. The cut-off time is the time that the carrier is scheduled to complete a pick up for the node.
If you are using the Ship Method Optimization feature, you must set a cut-off time. The optimization process uses this cut-off time to determine if an order is considered during the current work day or following work day so that ROM can provide an accurate ship date to carriers for time in transit. Here's an example.

- Specify the shift Start Time and End Time. Click or tap inside the Start Time field. The Time widget appears. Select the desired Start Time. Click or tap inside the End Time field to select the End Time.
You can define one shift as a full working day or you can define several shifts based on when staff transition occurs. Here's an example.
- (Optional) Enter Max Items.
- If necessary, add additional shifts. To add a shift, click or tap the Add Shift button. The new shift appears. You can now specify the shift Start Time and End Time, and Max Items for the shift.
- (Optional) Define all seven days of the week: Monday through Sunday. If you do not explicitly define a day, ROM uses the default day.
- Click or tap the
 button to explicitly define the day.
 - If you want to define this day as a working day, click or tap the Working Day toggle. If you want to define this day as a non-working day, don’t turn on the working day toggle.
- If the day is defined as a working day, define the cut-off time and shifts as described in the preceding steps for defining the Default day.
- Click or tap the
-
Define the Calendar Exceptions. A Calendar Exception is a single date. The date could be a working day that has a special shift or Max Items; for example, you might define an extended shift for Black Friday, when most stores open early and stay open late. Or, the date could be day that the node is closed; for example, Thanksgiving Day in the United States.
- Click or tap the Calendar Exception button. The Exception date field and Working Day toggle appear.
- Click or tap inside the Exception date field. The Calendar widget appears. Select the desired Exception date.
- To specify that the exception day is a Working Day:
- Activate the Working Day toggle. The cut-off time and shift fields appear.
- Complete the cut-off time and shift fields as described earlier.
- If the exception day is not a working day, deactivate the Working Day toggle.
- When you complete all the relevant information, click or tap the Save button on the action bar. The Manage Node Calendars screen reappears, showing the new calendar.
Edit a Node Calendar
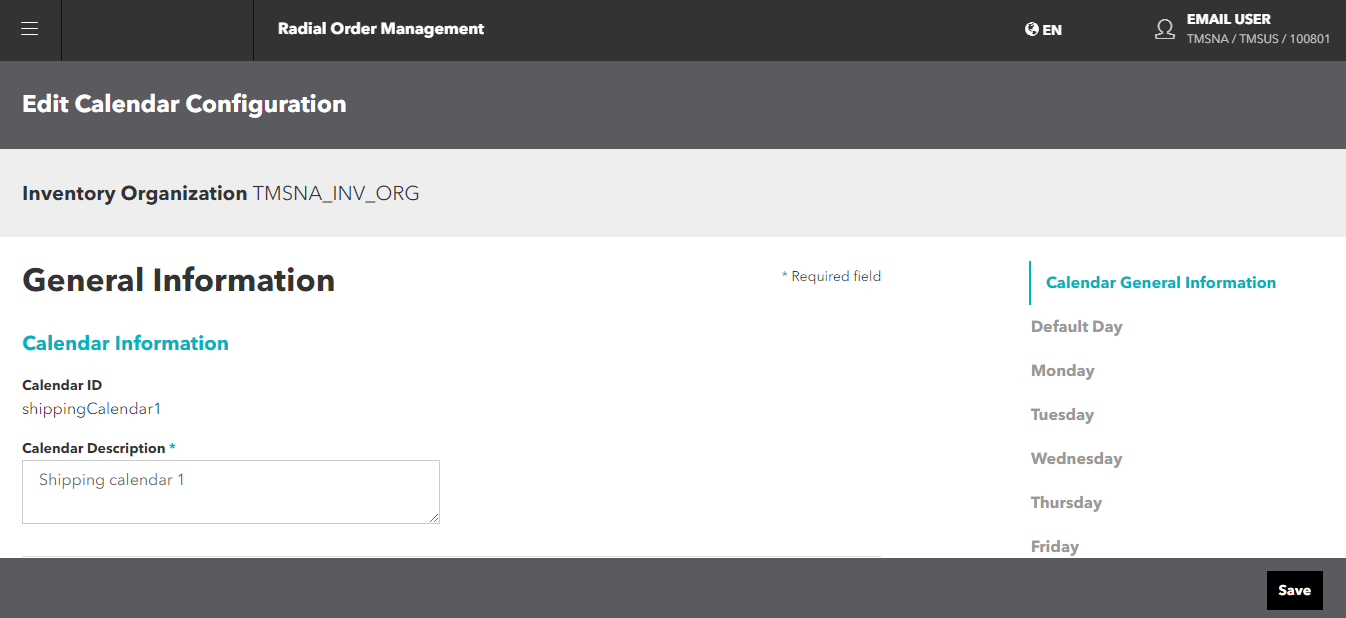
- From the Shipping Calendars screen, click or tap the
 icon for a specific calendar. The Edit Calendar Configuration screen appears.
- You can make the following changes to the shipping calendar:
- Edit the Calendar Description.
- For each day of the week, including the default day, you can:
- Turn on / Turn off Working Day toggle.
- Change the cut-off time.
- Add / Remove shifts.
- Modify existing shifts, including changing the Start Time, End Time, and/or Max Items.
- If you no longer want to use the default day for a specific day of the week, click or tap the
 button for the day and explicitly define it.
- Modify existing exceptions.
- Add / remove exceptions.
- When you finish making changes, click or tap the Save button.
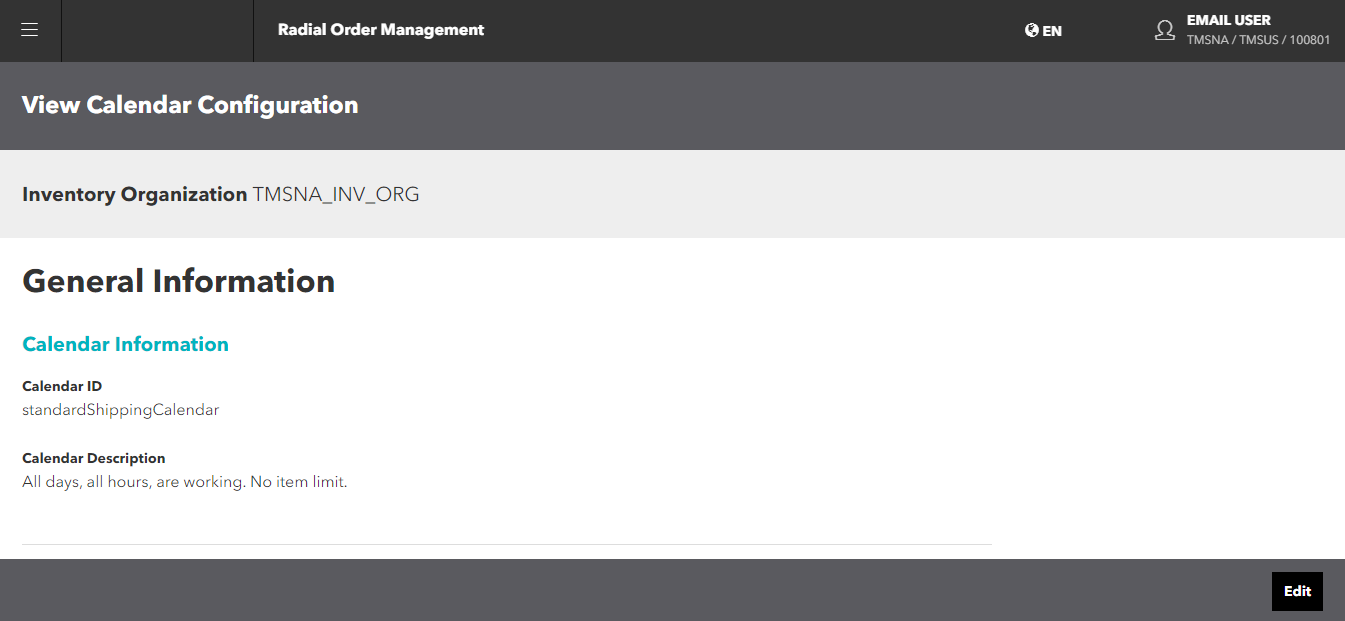
View a Shipping Calendar
- From the Shipping Calendar screen, click or tap the
 icon for a specific calendar. The View Calendar Configuration screen appears.
- To view the day setup, click or tap the
 button for a specific day.
 - To edit the calendar, click or tap the Edit button on the action bar.
- Follow the steps in Edit a Node Calendar.
Delete a Shipping Calendar
- From the Shipping Calendar screen, click or tap the
 icon for a specific calendar. A dialog box appears to confirm that you really want to delete the shipping calendar.
 - To delete the calendar, click or tap Continue. The shipping calendar deleted and the Shipping Calendars screen appears.
- If you do not want to delete the calendar, click or tap Cancel.