Prepare Order for Curbside Pickup (In-Store Pickup)
When a customer selects curbside pickup, you must confirm that:
- The customer has arrived at the store to pick up the order.
- The customer has inspected the order for quality and completeness.
- If the customer rejects part of the order, the rejected items must be put away.
Here's how to do this in Radial Order Management. Let's assume that a customer has arrived outside the store to pick up an order. You have received and email or text from the shopper that they are there. This notification may contain information about the shopper's vehicle and parking spot.
You have retrieved the order and delivered it for the customer to inspect.
- From the Dashboard, click or tap the Curbside Pickup tile.
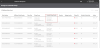
Depending on your role, either the Queues screen or the Waiting to Pick screen appears.
If you have permission to access multiple fulfillment nodes, you see the Queues screen. It displays the orders, items, and quantities for all the nodes that you have access to. From this screen, you can view the orders to waiting for customer pickup at each node.
To see the orders that are waiting for curbside pickup, click the
 icon for the queue that want to see. The Ready for Curbside Pickup screen appears.
If you have access to only one node, the Ready for Curbside Pickup screen appears automatically.
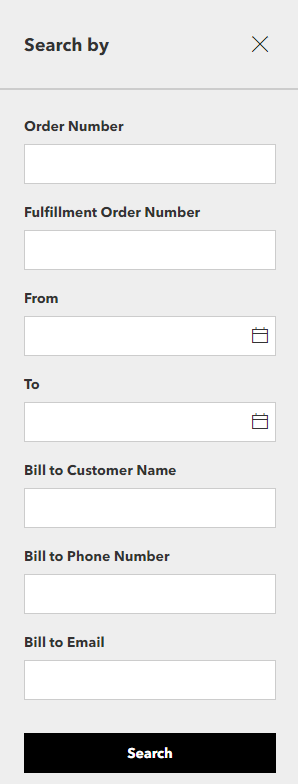
To narrow the results, you can search for a specific order or group of orders.
 Read more about this.
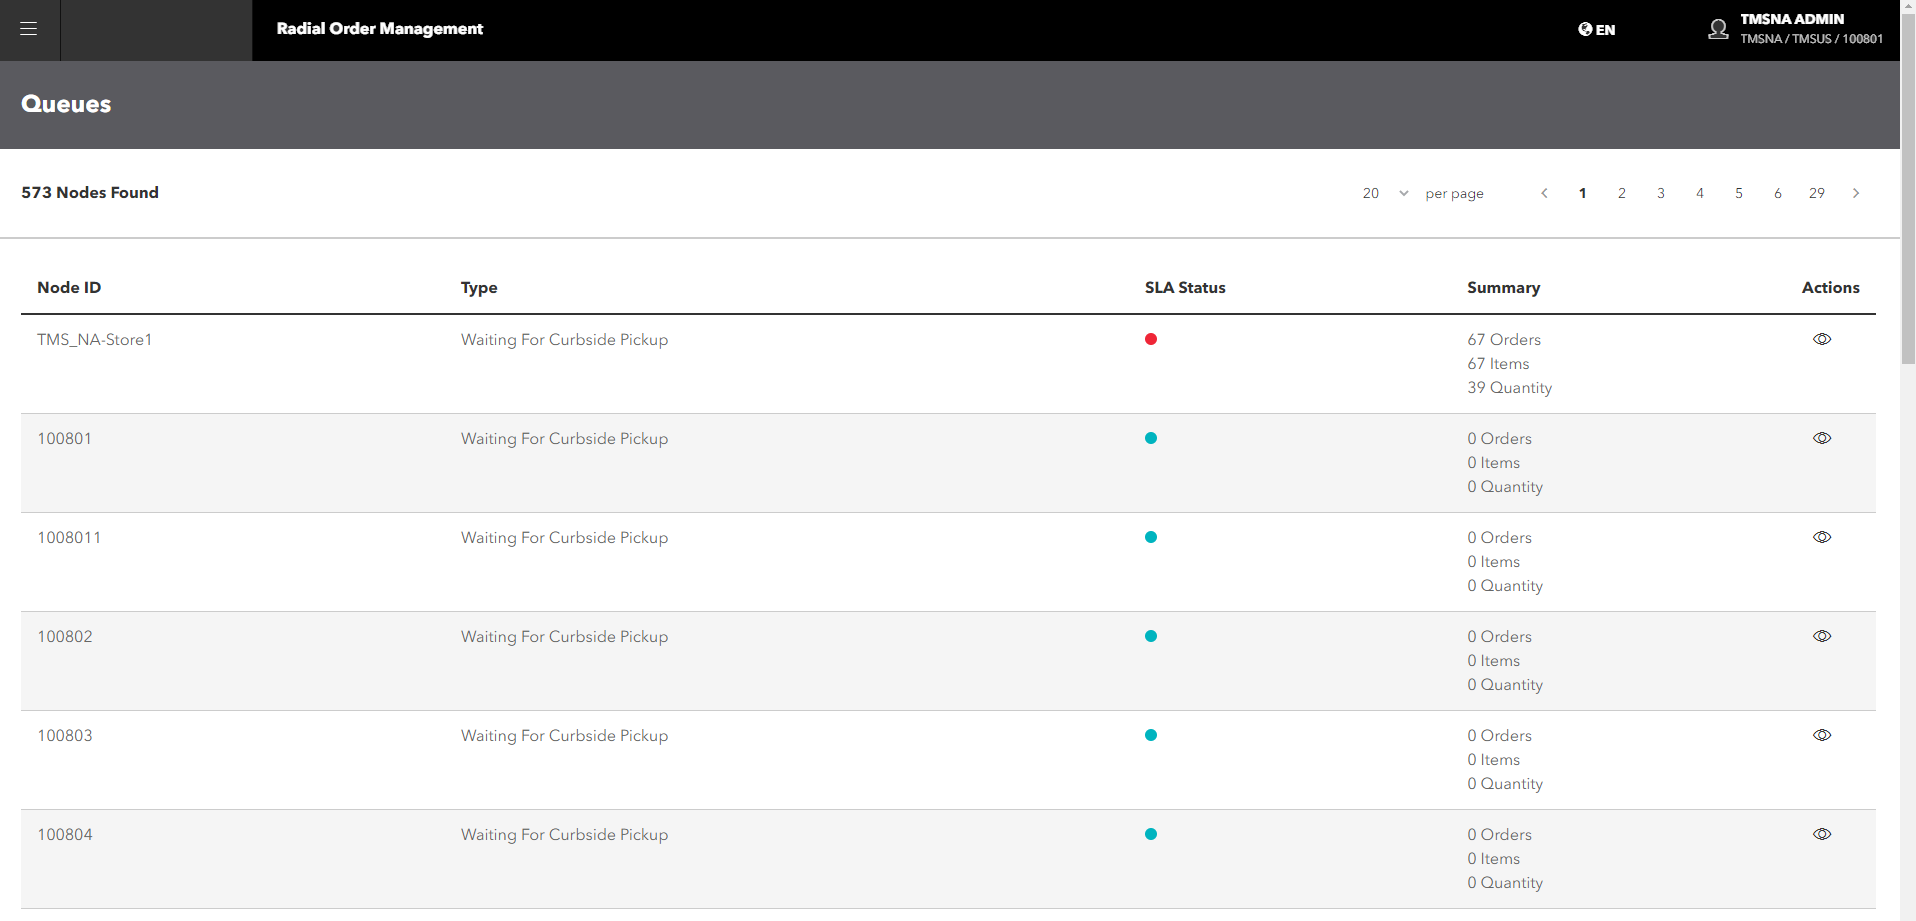
The Curbside Pickup screen displays the following information:
- Order Number: The number assigned by the OMS when the order is placed.
- Fulfillment Order Number: The number assigned during the scheduling process.
- Order Date: The date the order was placed.
- Pickup Person: The person who is picking up the order at the store.
- Curbside Pickup Details: The vehicle and parking spot details.
- Quantity: The total number of items in the order. For example, there may be three items, but two units for each item; therefore, the quantity is six.
- Staging Location: Where the order is stored until the customer picks it up.
- Pickup SLA: The amount of time remaining before the customer can pick up the order. This time corresponds to the Service Level Agreement for the store. Teal indicates that there is plenty of time left, yellow indicates that there is only a short time left, and red indicates that time has run out.
- Actions:
 Complete the customer pickup.
- View the fulfillment order details -- you cannot edit the order.
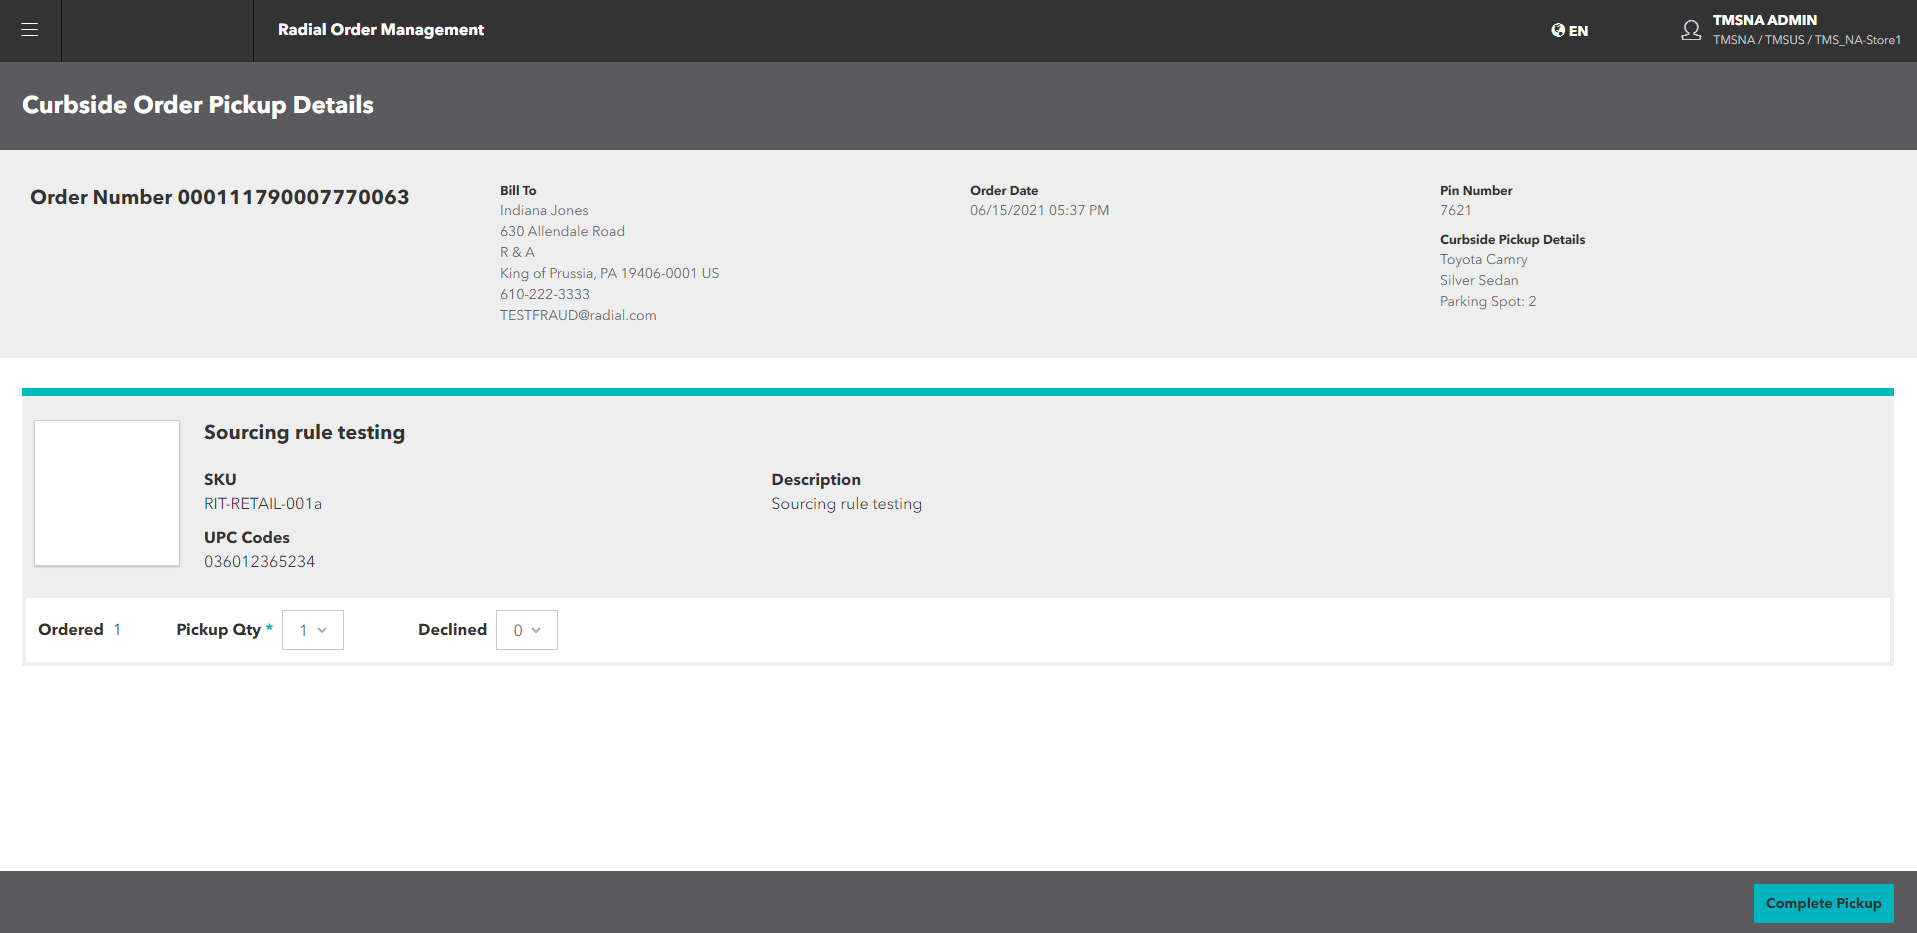
- To complete the pickup, click or tap the icon. The Order Pickup Details screen appears. The quantity of each item in the order displays beneath the item description.

Depending on the system configuration, you may have to scan or enter each item in the order to confirm the pickup. In this case, the ordered quantity for each item appears in the Ordered field, while the Pickup Quantity field shows 0.

As you scan or enter each item in the order, the quantity appears in the Pickup Quantity field.
If the customer rejects one or more items, adjust the number in the Pickup Qty field to reflect the number of accepted items. The Declined field automatically updates and the Decline Reason field appears. Select a reason from the dropdown. When you've gone through all of the items in the order, click or tap Complete Pickup.
On the other hand, your configuration may prefill the Pickup Quantity of the items.

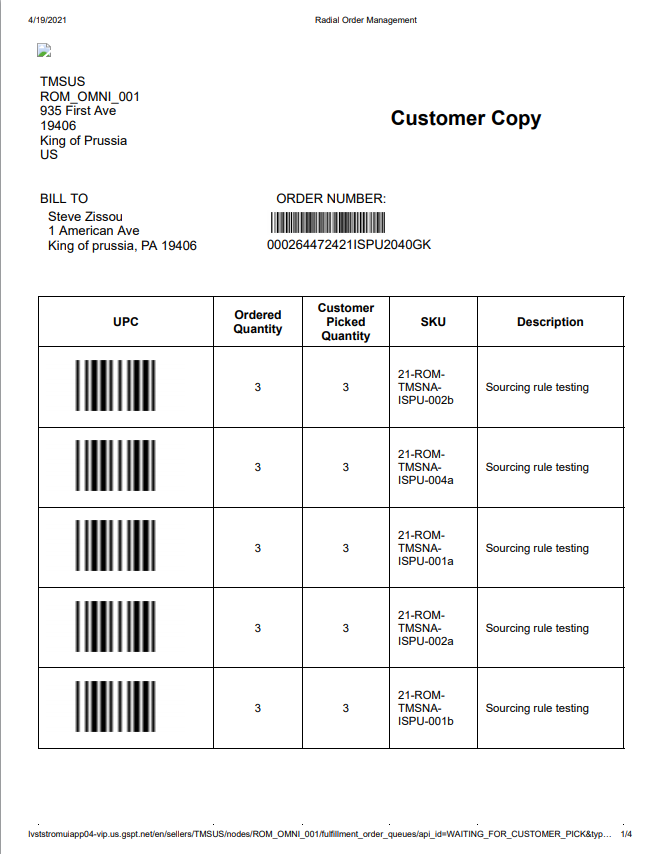
In this case, you do not need to scan the items. If the customer rejects one or more items, adjust the number in the Pickup Qty field to reflect the number of accepted items. The Declined field automatically updates and the Decline Reason field appears. Select a reason from the dropdown. If the customer accepts the entire order, click or tap the Complete Pickup button. The Customer Receipt Print screen appears.

-
Print the receipt for the customer.
 icon. The Search panel appears.