Manage Pipelines
A pipeline defines how to orchestrate an order line through the order management process. It defines an order line, then traces the path that the order line must take from beginning to end.
A pipeline has two parts:
- Pipeline Criteria, which define the conditions that an order line must meet to proceed through that pipeline.
- Pipeline Configuration, which defines how the order lines that meet the criteria proceed through the order management process. The configuration sets up the ROM services based on the starting service, then connects exit events with entry events in the following service.
Review Pipelines
To manage the pipelines that have been defined for your ROM implementation:
- Click or tap the
 icon in the upper-left corner. The Main Menu appears.
 - Click or tap Pipelines. The Manage Pipelines screen appears.
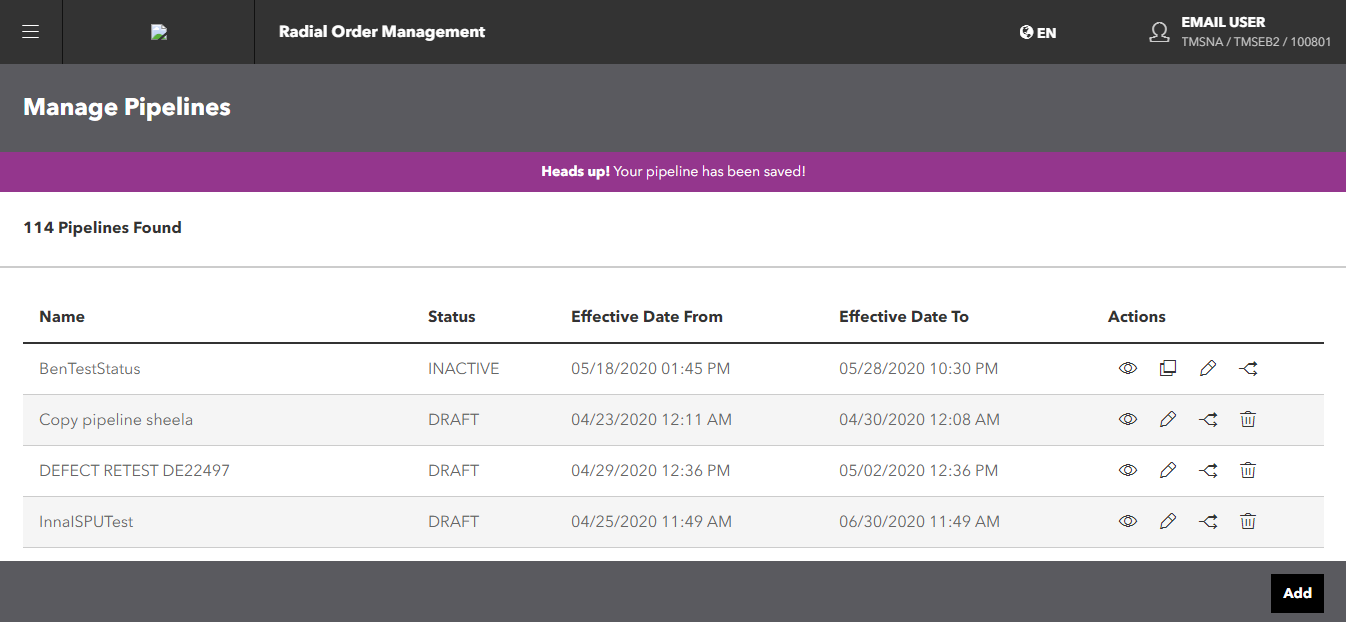
This screen displays a list of your current pipelines. From this screen, you can:
- View a pipeline.
- Copy a pipeline.
- Edit a pipeline and its configuration.
- Delete a pipeline.
- Add a new pipeline.
View a Pipeline
To view a pipeline:
- Click or tap the
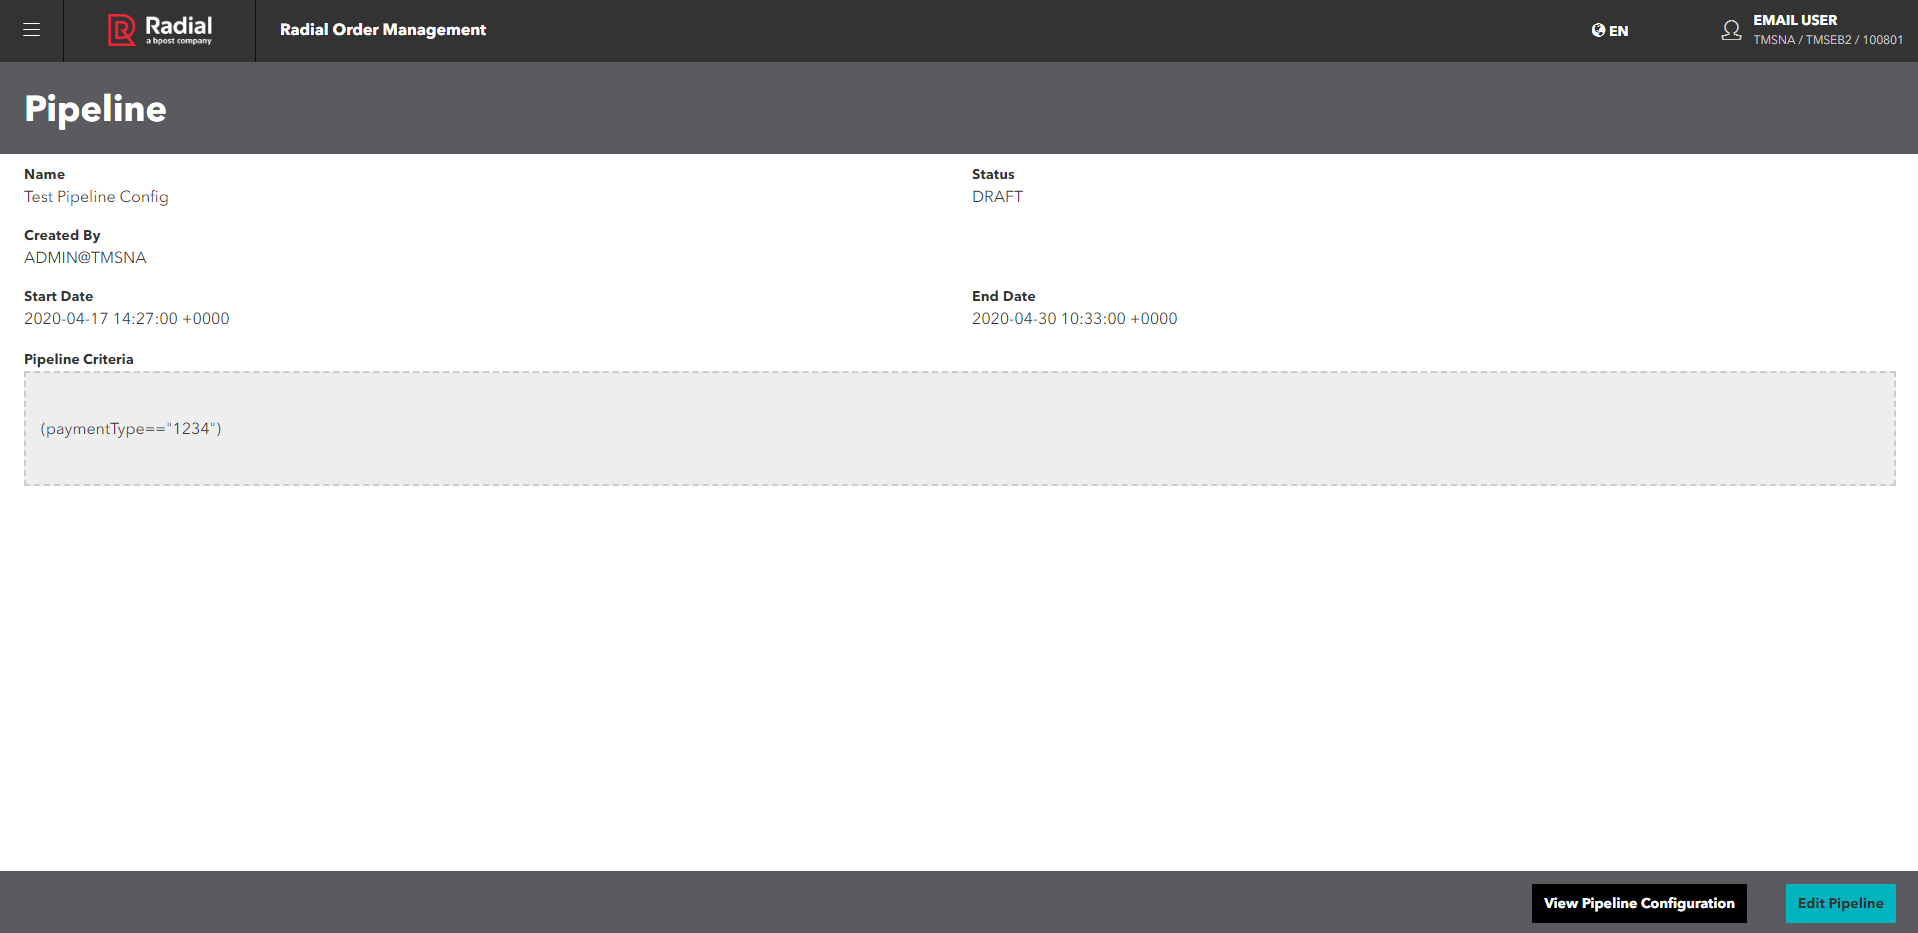
 icon. The Pipeline screen appears.
This screen shows:
- Name of the pipeline
- Status of the pipeline: Draft or Active. Note: You cannot edit an active pipeline.
- Created by: The user who first created the pipeline.
- Modified by: The user who last edited the pipeline. This field appears when someone edits a pipeline.
- Start date
- End date
- Pipeline Criteria: The expression that determines the order orchestration for this pipeline.
- From this screen, you can view the pipeline configuration, or edit the pipeline criteria and configuration.
- To return to the Pipeline list, click or tap the Back button on your browser.
Add a Pipeline
To add a pipeline:
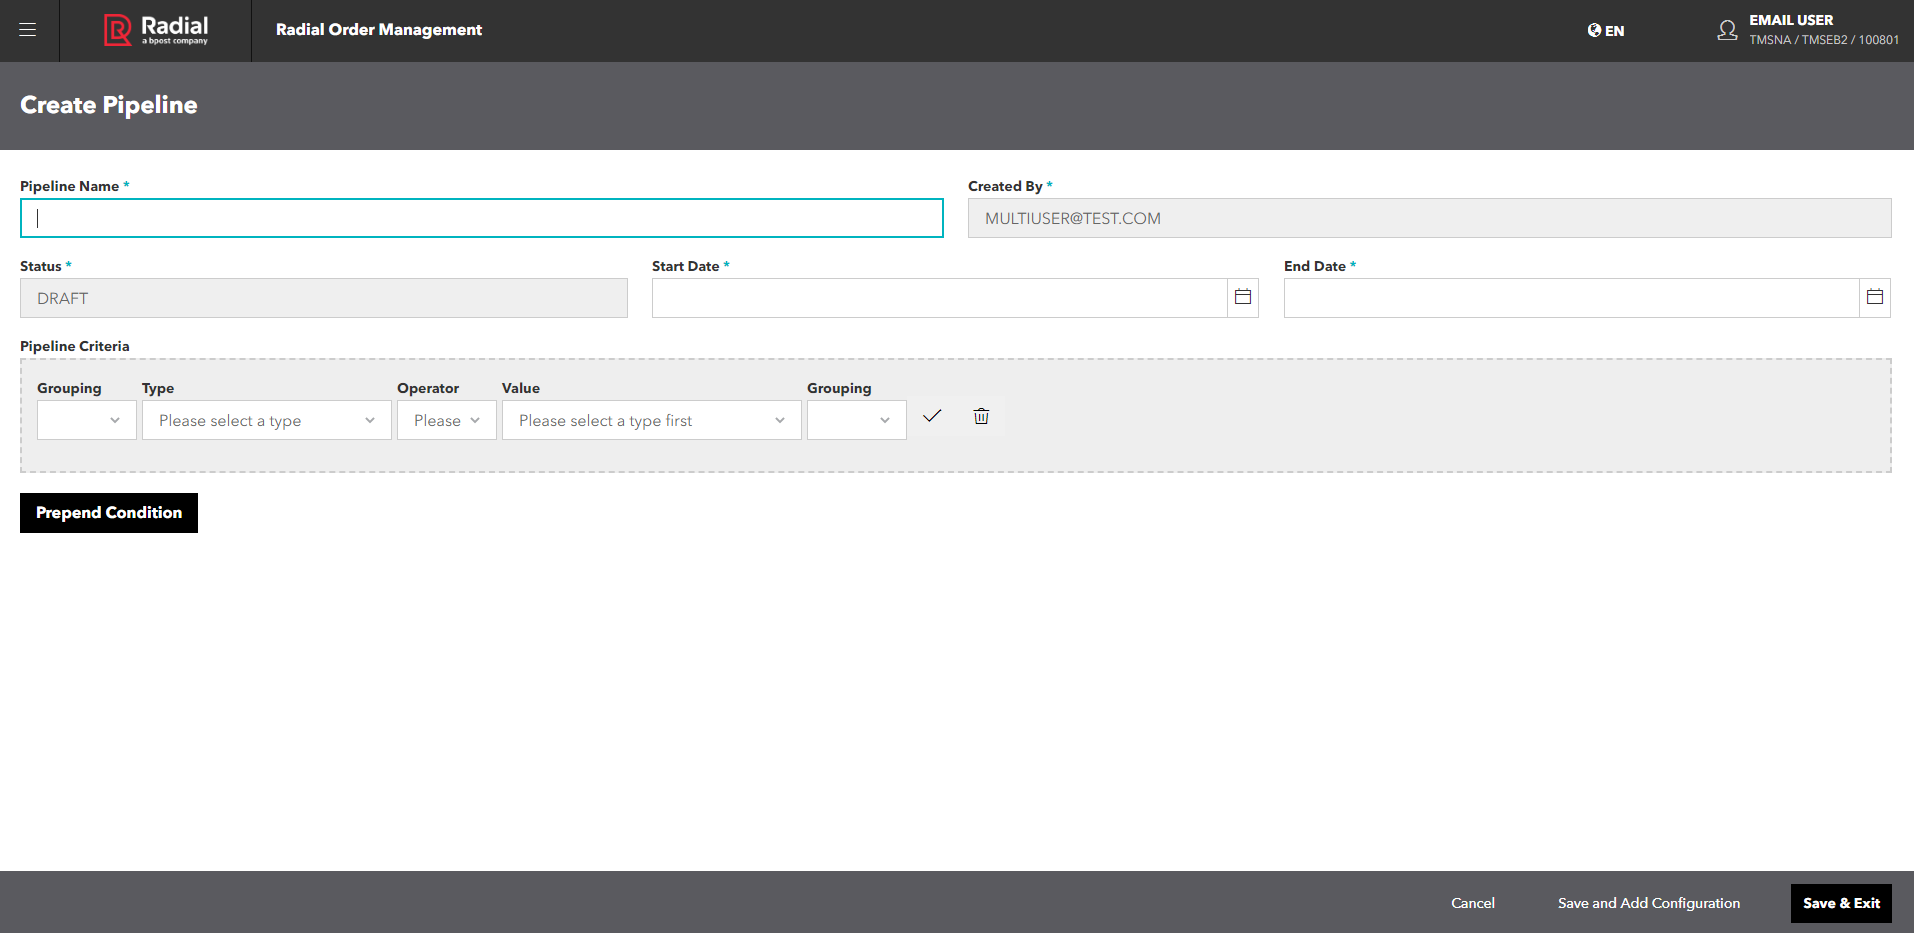
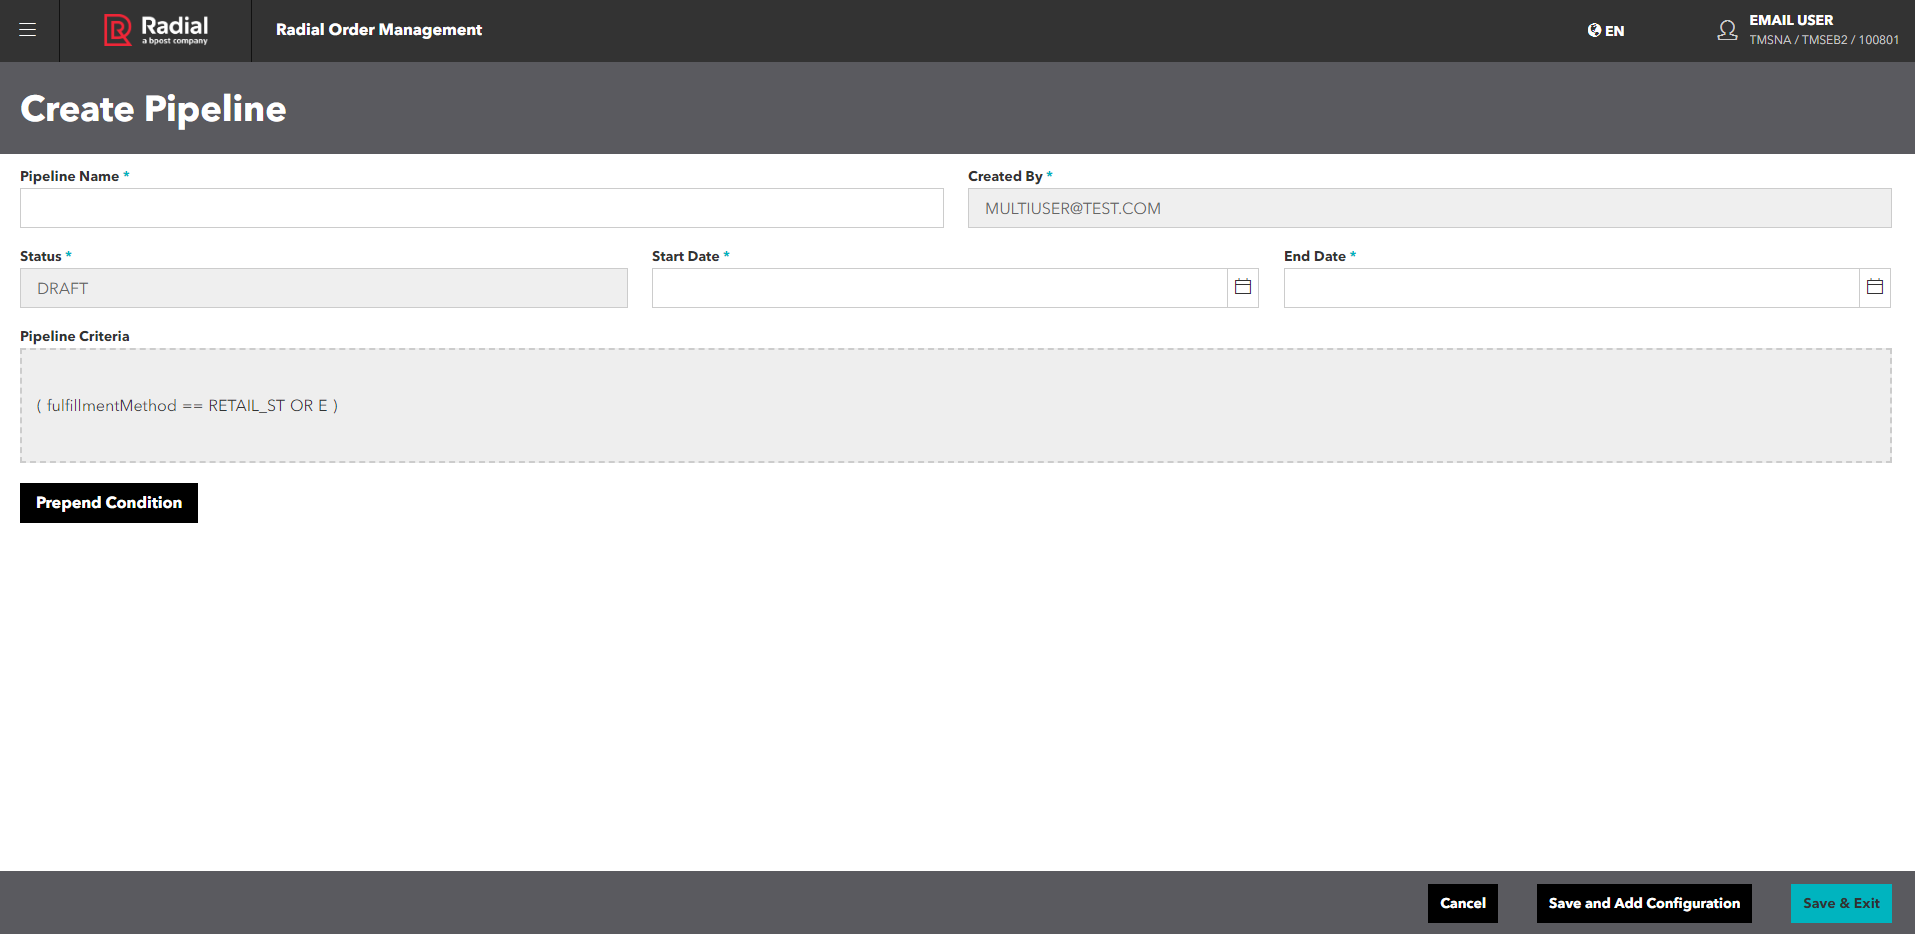
- From the Manage Pipelines screen, click or tap the Add button. The Create Pipeline screen appears.

The Created By and Status fields are pre-populated with your userid and a DRAFT status. You cannot change these values. You can change the Status to ACTIVE or INACTIVE when you edit the pipeline after you initially create it.
- Enter a name for the pipeline.
- Enter a Start Date for the pipeline. If the pipeline status is "ACTIVE," this is the date that the pipeline goes into effect. If the pipeline status is "INACTIVE," the date has no effect.
When you specify the Start Date, be sure to give yourself enough time to create and save the Pipeline Criteria. If you specify a Start Date and try to save the Pipeline after the time specified in the Start Date, you receive an error. For example, assume that you create a Pipeline with a Start Date of May 12, 2020 at 1:32 PM, but you try to save the Pipeline at 1:42 PM, you receive an error because you cannot save a Pipeline whose Start Date is in the past, even by a few minutes.
- Enter an End Date for the Pipeline. If the pipeline status is "ACTIVE," this is the date that the pipeline is no longer in effect. If the pipeline status is "INACTIVE," the date has no effect.
- Set up the first expression of the Pipeline Criteria. The Pipeline Criteria defines the requirements that an order must meet to move through the pipeline. These requirements take the form of an expression or group of expressions that define the Type of the order and the Value associated with that type.

The expression fields are:
- Grouping: Specifies how the expressions are tied together.
- Type: Specifies the type of order.
- Operator: Specifies how the Type relates to the Value.
- Value: Specifies the value of the order Type.
- Grouping: Closes the expression and specifies its relationship to the following expression.
When you finish adding the expression, click or tap the
 icon.
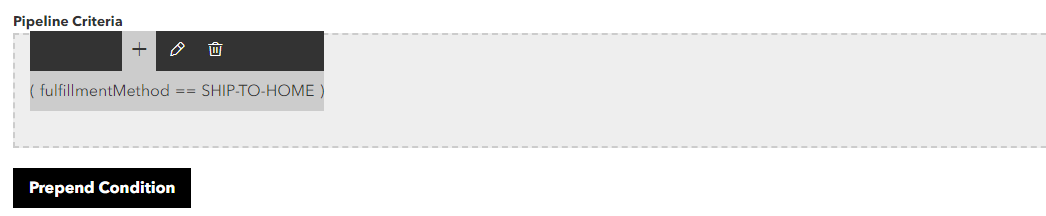
icon. - To further refine the criteria, you can add more expressions, edit existing expressions, or delete an expression.
- Hover over the expression. A popup appears that enables you to add a new expression to the end of the existing expression, edit the existing expression, or delete the expression.
- To add a new expression, click or tap the + icon. A new set of expression fields appears, where you can enter the new expression.
- To edit an expression, hover over the expression that you want to edit, then click the
 icon. The expression appears in the expression fields, where you can edit it. You can only edit one expression at a time.
 - To delete an expression, hover over the expression that you want to delete, then click or tap the
 icon.
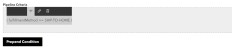
icon. - To add an expression to the left of the existing expression, click or tap the Prepend Condition button. The criteria fields appear.
- Hover over the expression. A popup appears that enables you to add a new expression to the end of the existing expression, edit the existing expression, or delete the expression.
- When you finish adding conditions, click or tap the icon.
- To save the criteria and add a Pipeline Configuration, click or tap the Save and Add Configuration button. The Configure Pipeline screen appears. See Add a Pipeline Configuration for details.
- To save the pipeline without adding a Pipeline Configuration, click or tap Save & Exit. The Manage Pipelines screen appears, showing the new Pipeline.
- To exit without saving the pipeline, click or tap Cancel.

Add a Pipeline Configuration
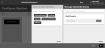
Once you have created your pipeline and set up the Pipeline Criteria, you can add a Pipeline Configuration. The Pipeline Configuration determines how an order passes through the fulfillment workflow. When you click or tap the Save and Add Configuration button on the Create Pipeline screen, the Configure Pipeline screen appears. This screen enables you to use a visual method to connect services through the service exit events.
For a description of the applicable services, including entry and exit events, see Pipeline Configuration Services.
To add a new Pipeline Configuration to a pipeline:
From either the Create Pipeline or Edit Pipeline screen, click or tap the Save and Add Configuration button. The Configure Pipeline screen appears.
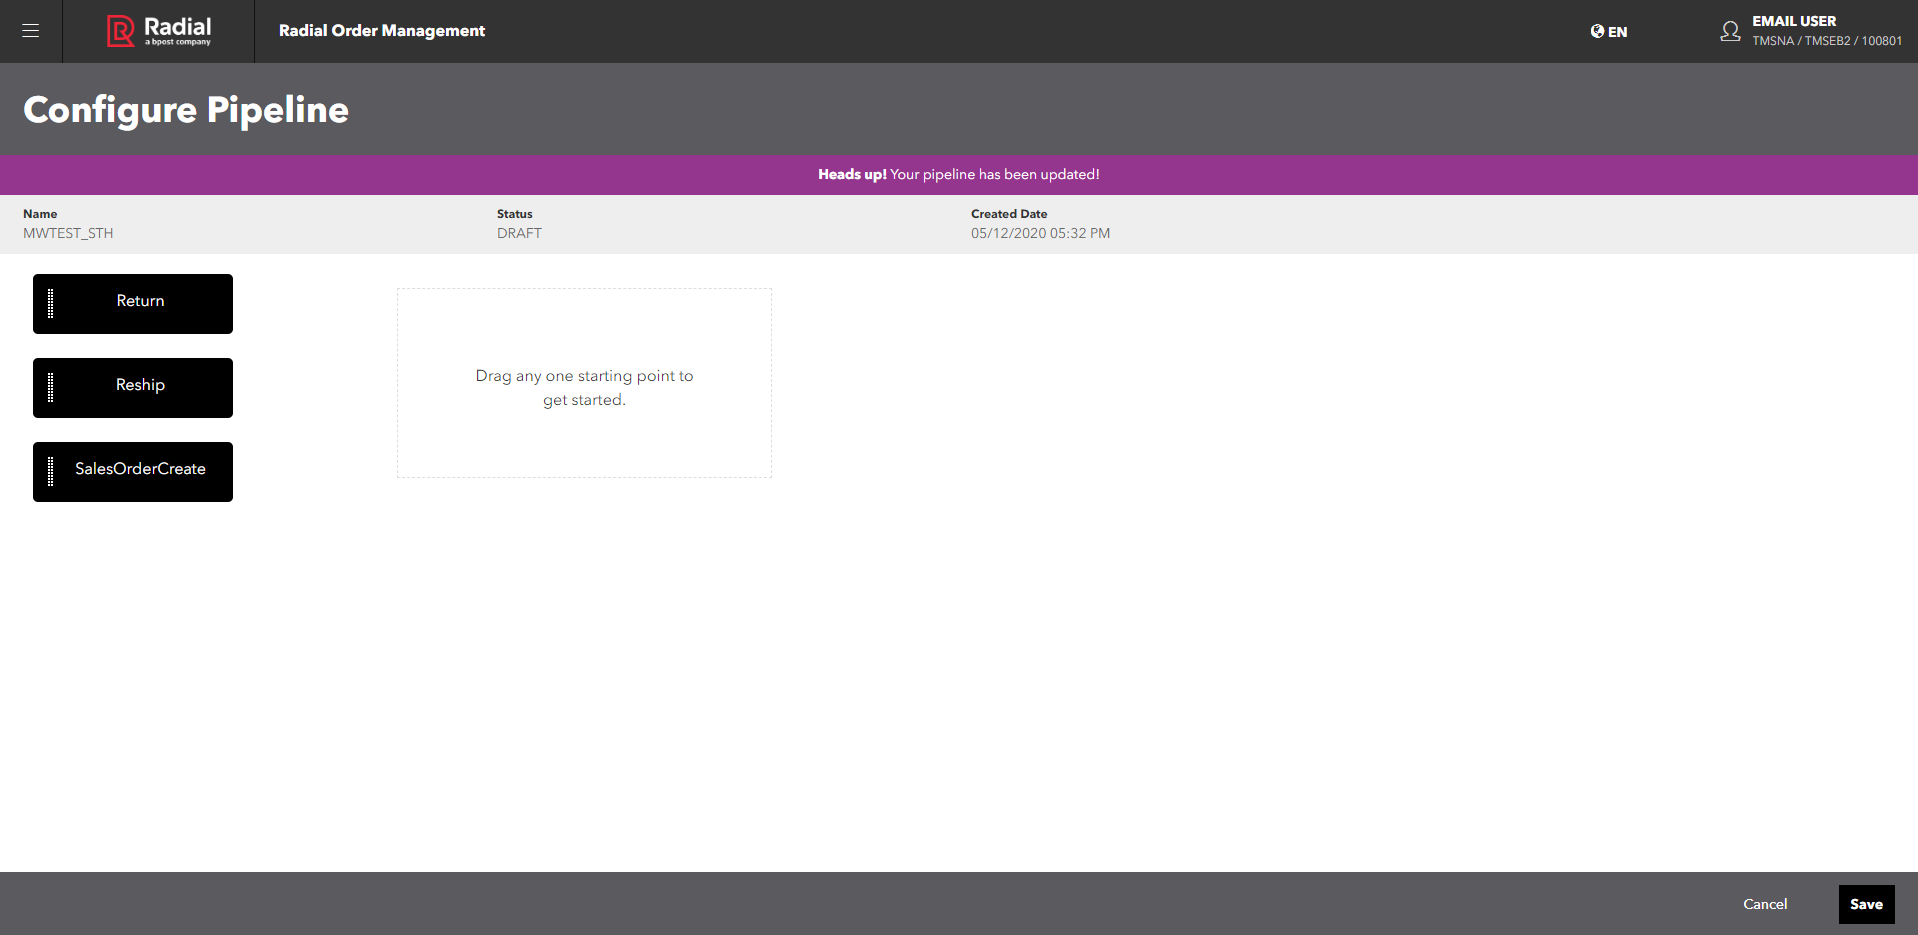
This screen shows the starting points that you can choose:
- Return
- Reship
- SalesOrderCreate
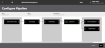
- To start adding services, drag the starting point to the rectangle. The starting point now appears on the left side of the screen. For this example, assume that the starting point is the SalesOrderCreate event. The red dot indicates the exit event for SalesOrderCreate; that is, the order_created exit event. This event creates and validates a new sales order.
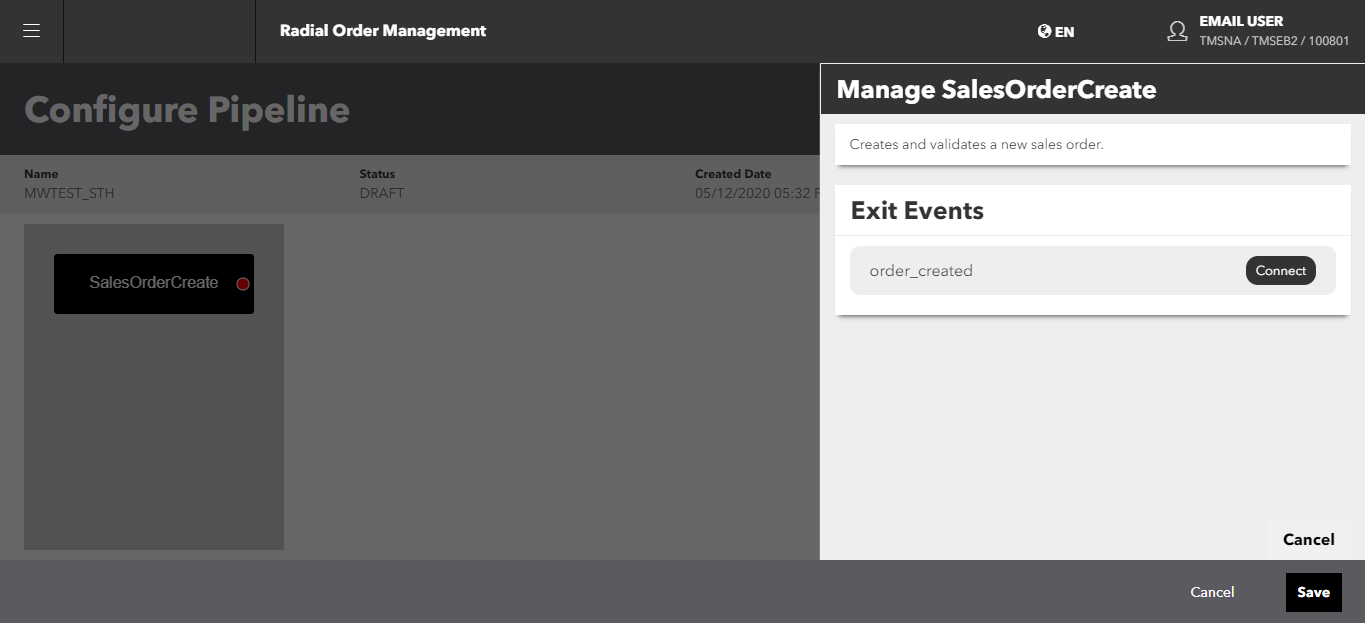
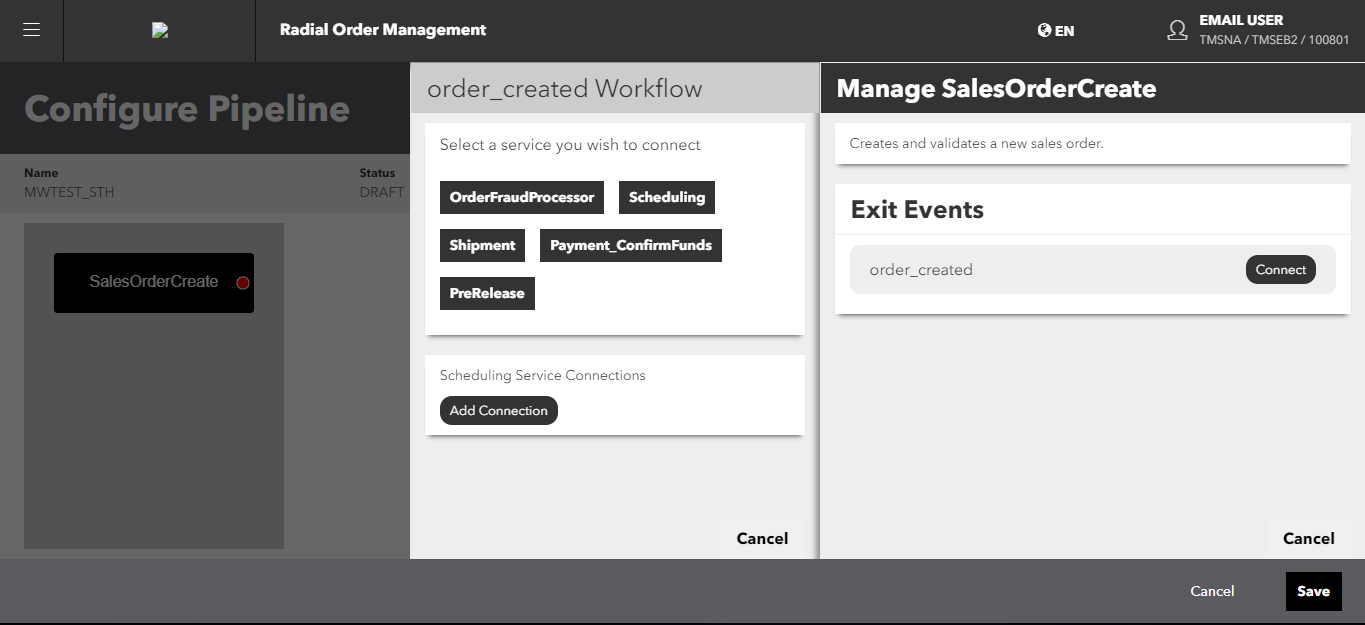
- Click or tap the red dot on the SalesOrderCreate tile. The Manage SalesOrderCreate panel appears.
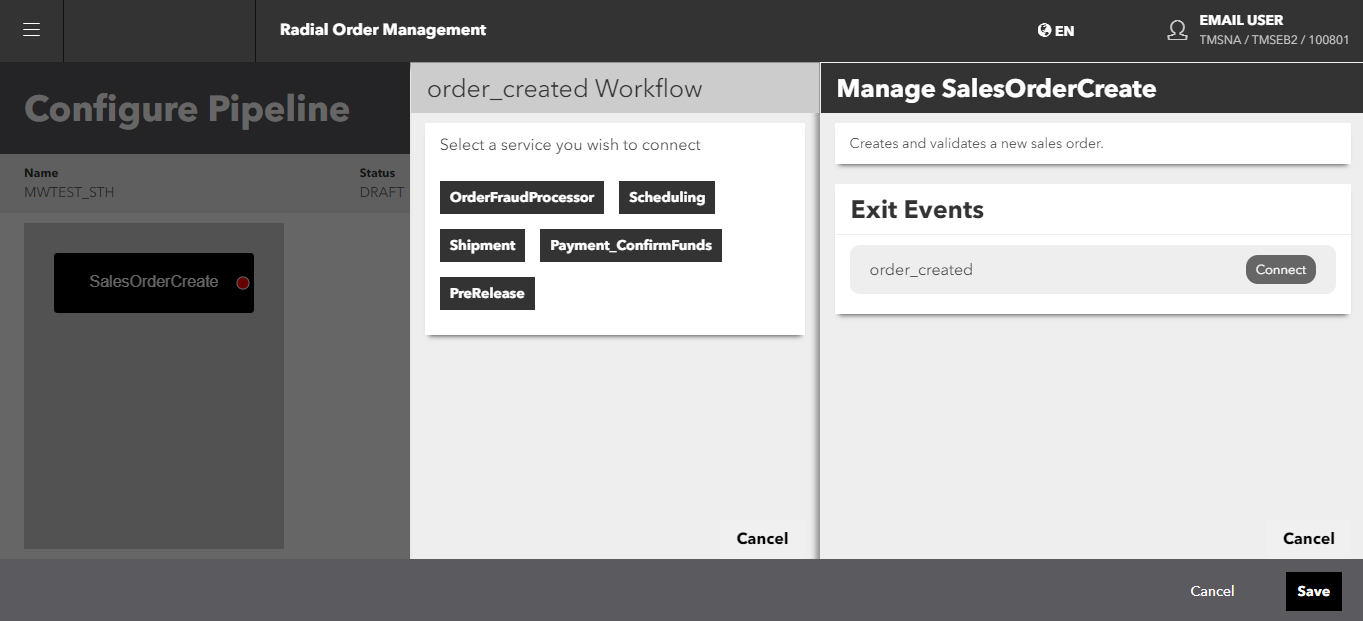
- In the ManageSalesOrderCreate tile, you can specify the next service to connect the order_created exit event. Click or tap the Connect button to see the available services. The order_created Workflow panel appears.
This panel shows the services that you can connect.
- Click or tap the button for the service you want. A sub-panel appears, showing the available connections for the service.

- Click the Add Connection button. The Configure Pipeline screen shows the connection. In this case, the order_created exit event for the SalesOrderCreate service becomes the entry event for the Scheduling Service.
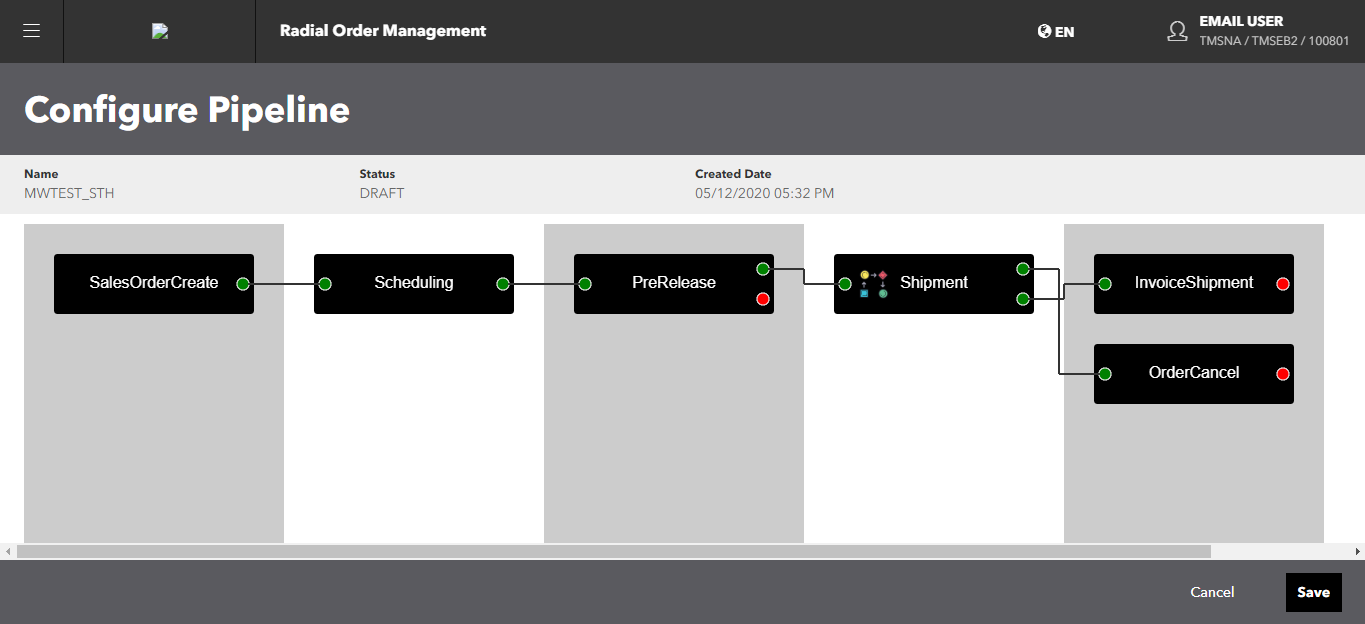
- Continue to make connections. As you select services and connect them, the red dots turn green and a line shows the connection. The available services and connections vary depending upon your choices. The following screenshot shows a sample of a simple configuration.
- When you finish your configuration, click or tap the Save button.
Copy a Pipeline
You cannot edit an active pipeline, but you can copy it. When you copy an active pipeline, you must rename it and enter new start and end dates. You can also change the pipeline criteria and the pipeline configuration.
To copy a pipeline:
- From the Manage Pipelines screen, click or tap the
 icon for the pipeline that you want to copy. The Create Pipeline screen appears, with the criteria and configuration from the original pipeline.
- Enter a name for the pipeline.
- Enter a start date and end date.
- To edit the pipeline criteria:
- Hover over the expression. A popup appears that enables you to add a new expression to the end of the existing expression, edit the existing expression, or delete the expression.
- To add a new expression, click or tap the + icon. A new set of expression fields appears, where you can enter the new expression.
- To edit an expression, hover over the expression that you want to edit, then click the icon. The expression appears in the expression fields, where you can edit it. You can only edit one expression at a time.
- To delete an expression, hover over the expression that you want to delete, then click or tap the icon.
- To add an expression to the left of the existing expression, click or tap the Prepend button. The Pipeline Criteria fields appear.
Using these fields, you can:
- Add a new expression in addition to the existing expression.
- Add a new expression and delete the existing expression.
See Edit Pipeline Criteria for details.
- When you finish editing the Pipeline Criteria, click or tap the icon.
- To save the criteria and edit the existing Pipeline Configuration, click or tap the Save and Add Configuration button. The Configure Pipeline screen appears, where you can edit the existing Pipeline Configuration. See Edit a Pipeline Configuration for details.
- To save the criteria without editing the existing Pipeline Configuration, click or tap the Save & Exit button.
- To exit without saving the copy, click or tap the Cancel button.
Edit Pipeline Criteria
After you set up a pipeline but before you activate it, you can edit it. You can:
- Change the pipeline status from DRAFT to ACTIVE or INACTIVE.
If you change the status to ACTIVE or INACTIVE, and then save the change, you can no longer edit the pipeline criteria and status, but you can change the dates and name..
- Change the Start Date and/or End Date.
- Edit the Pipeline Criteria:
- Edit the existing expression.
- Add additional expressions to an existing expression.
- Delete an existing condition.
To edit a pipeline:
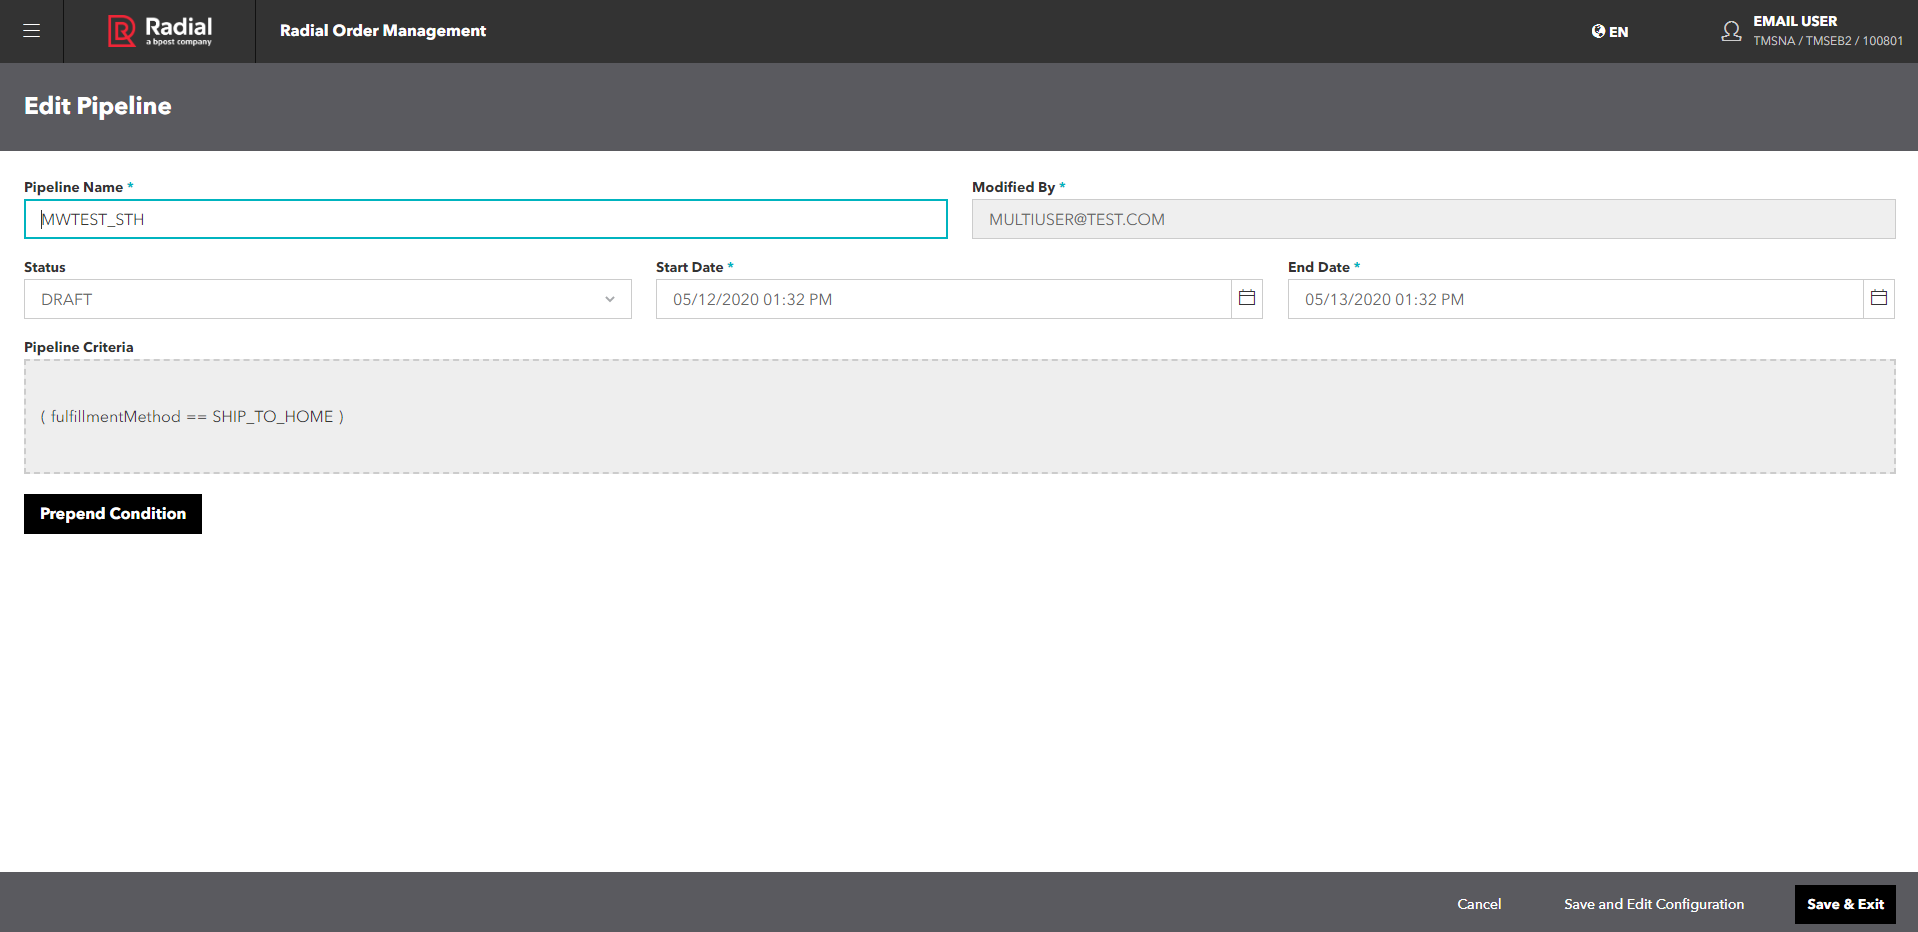
- From the Manage Pipelines screen, click or tap the icon for the pipeline that you want to edit. The Edit Pipeline screen appears.

- Edit the general information about the pipeline, including:
- Name of the pipeline
- Status: DRAFT, ACTIVE, or INACTIVE
- Start Date and/or End Date
You cannot change the userid of the user who originally created the pipeline.
- To edit the pipeline criteria:
- To add a new expression, click or tap the + icon. A new set of expression fields appears, where you can enter the new expression.
- To edit an expression, hover over the expression that you want to edit, then click the icon. The expression appears in the expression fields, where you can edit it. You can only edit one expression at a time.
- To delete an expression, hover over the expression that you want to delete, then click or tap the icon.
- To add an expression to the left of the first expression, click or tap the Prepend button. The expression fields appear.
Using these fields, you can:
- Add a new expression in addition to the existing expression.
- Add a new expression and delete the existing expression.
The expression fields are:
- Grouping: Specifies how the expressions are tied together.
- Type: Specifies the type of order.
- Operator: Specifies how the Type relates to the Value.
- Value: Specifies the value of the order Type.
- Grouping: Closes the expression and specifies its relationship to the following expression.
- When you finish editing the Pipeline Criteria, click or tap the icon.
- To save the criteria and edit the existing Pipeline Configuration, click or tap the Save and Add Configuration button. The Configure Pipeline screen appears, where you can edit the existing Pipeline Configuration. See Edit a Pipeline Configuration for details.
- To save the criteria without editing the existing Pipeline Configuration, click or tap the Save & Exit button.
- To exit without saving the copy, click or tap the Cancel button.
Edit a Pipeline Configuration
When you click or tap the Save and Add Configuration button, the Configure Pipeline screen appears. This screen enables you to use a visual method to edit the services and connections.
To edit a Pipeline Configuration:
- From the Edit Pipeline screen, click or tap the Save and Add Pipeline Configuration. The Configure Pipeline screen appears.
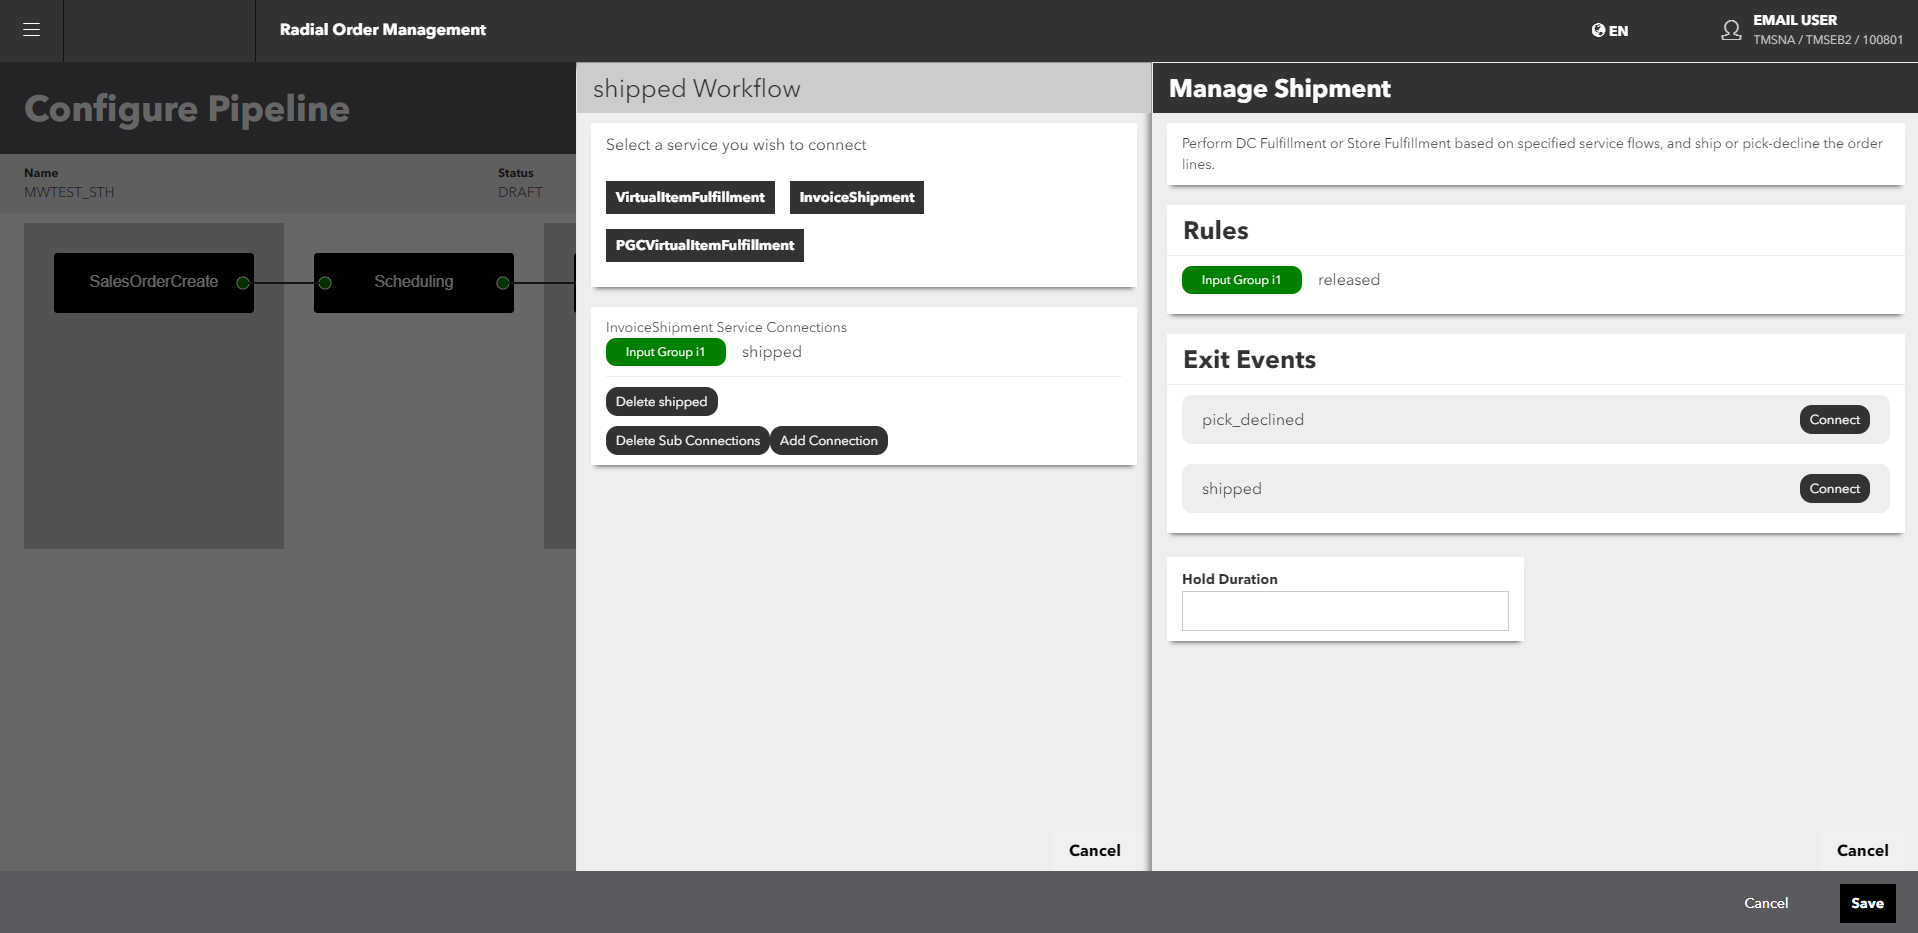
This screen shows the services and connections that have already been set up for the pipeline. - To edit the services and connections, click or tap the tile of the service you want to edit. The Manage panel for the service appears. The Manage panel has four sections:
- Description
- Rules, which specifies the Input Group or Groups for the Exit Event. More about this.

- Exit Events, which lists the exit events available for the service
- The Manage Panel also includes the Hold Duration field. This field specifies the number of minutes that an order is held before moving to the next service.
- In the Manage panel, click or tap the Exit Event that you want to edit. The Workflow panel appears.

The Workflow panel shows the connections for the service, the Input Group, and the available edits that you can make. The Input Group comprises the group of events that need to complete for an order line to go to the service. In this panel, you can also:
- Delete the exit event: Deletes the exit event; however, the Sub Connections remain and are reorganized.
- Delete the Sub Connections: Removes all of the connections to the exit event.
- Add a new Connection: Adds an additional connection from the exit event to the next service.
- Edit the workflow as you like, then click or tap the Save button. You are prompted to confirm the action.
- Click or tap the Continue button. You return to the Manage Pipelines screen.
Delete a Pipeline
You can only pipelines that have a DRAFT status; you cannot delete pipelines that have ACTIVE or INACTIVE statuses.
To delete a pipeline:
- From the Manage Pipelines screen, click or the tap the
 icon of the pipeline that you want to delete. A popup appears, asking if you're sure.
- If you're sure that you want to delete the pipeline, click or tap the Confirm button; otherwise, click or tap the Cancel button.
