Check In Ship-to Store Orders
When you receive Ship-to Store![]() A fulfillment process in which orders are shipped to a retail store where shoppers can pick them up. Also called STS. See also ISPU. orders, you must check them in to ensure that the order contains all of the items and that all of the items are undamaged. In some cases, the sourcing rules may specify that Ship-to Store orders can be sourced from the pickup store. In this case, your Dashboard shows two options:
A fulfillment process in which orders are shipped to a retail store where shoppers can pick them up. Also called STS. See also ISPU. orders, you must check them in to ensure that the order contains all of the items and that all of the items are undamaged. In some cases, the sourcing rules may specify that Ship-to Store orders can be sourced from the pickup store. In this case, your Dashboard shows two options:
- Check In: These orders have been packed and shipped to the store from another node.
- My Store Orders Check In: These orders are being picked and collected at the same store. These orders skip the Pack step in the workflow. As soon as orders are pick confirmed, they moved directly to the Check In queue and are available for pickup immediately.
Check In Orders Shipped from Other Nodes
To check in orders shipped from other nodes:
- From the Dashboard, click or tap the Check In tile for the Ship-to Store workflow.
Depending on your role, either the Queues screen or the Shipped Orders Pending Package Check-in screen appears.
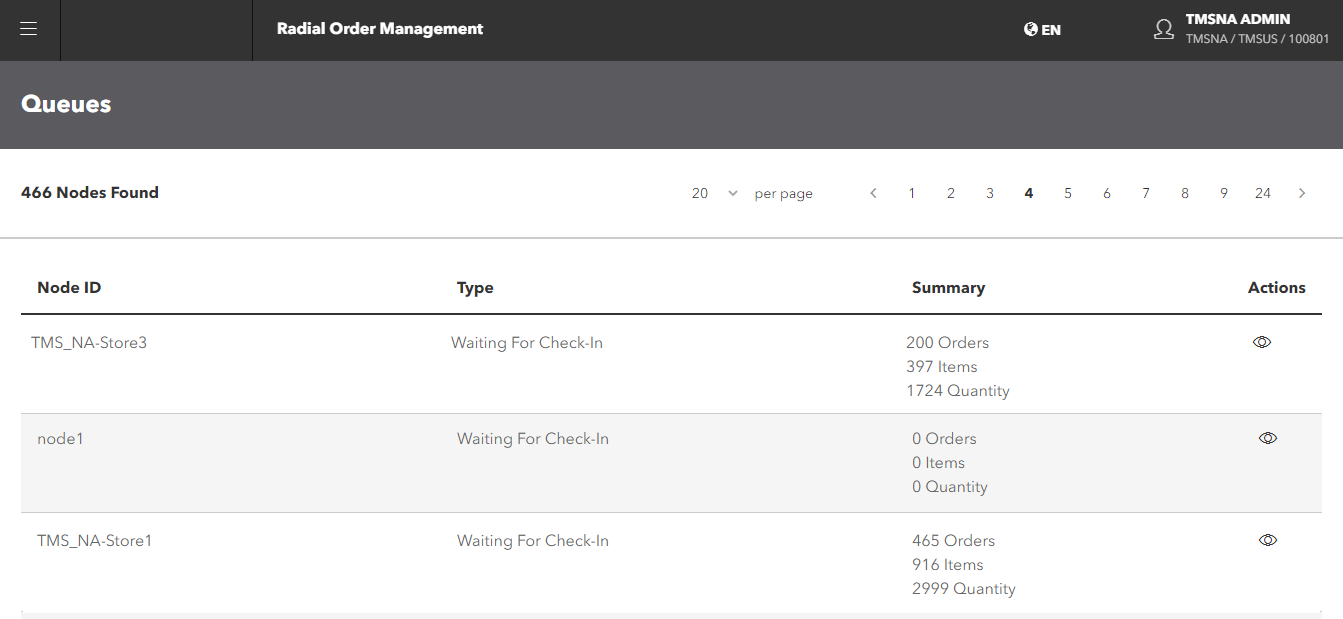
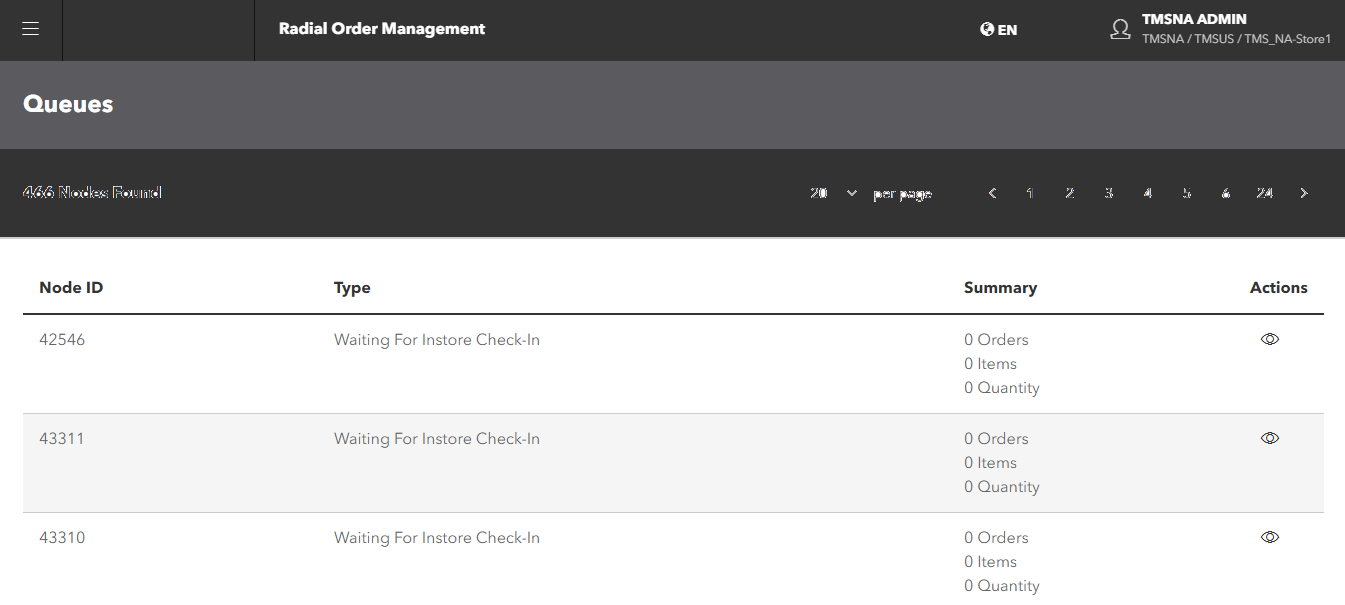
If you have permission to access multiple fulfillment nodes, you see the Queues screen. It displays the orders, items, and quantities for all the nodes that you have access to. From this screen, you can view the orders to waiting for check in at each node.
To see the orders that are waiting for check in, click the
 icon for the queue that you want to see. The Ready to Check-in screen appears.
If you have access to only one node, the Ready to Check-in screen appears automatically.
- Fulfillment Order
 An order that is ready to be picked, packed, shipped, and/or picked up. Number: The number assigned during the scheduling process.
 - Order Number: The number assigned by the OMS when the order is placed.
- Order Date
- Shipped Quantity: the total number of items in the order
- Number of packages in the order
- Expected Delivery date to the shopper
- Actions that you can perform.
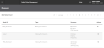
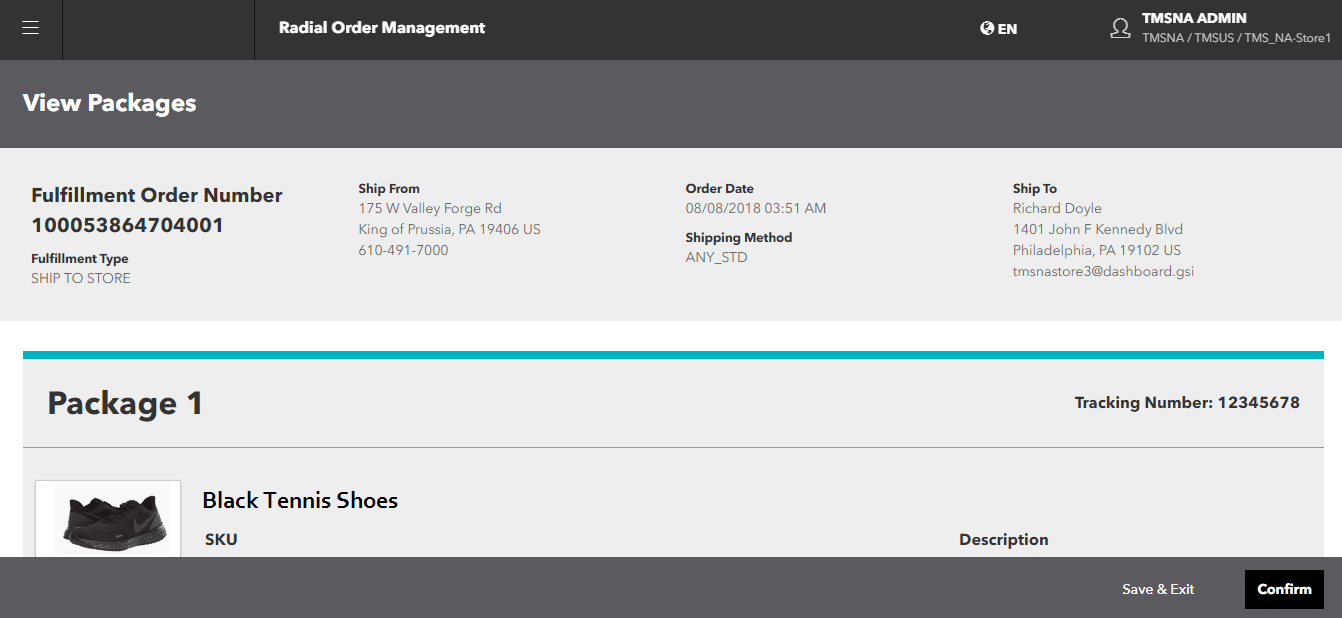
- To review and confirm the order, click or tap the
 icon. The View Packages screen appears.
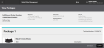
- For each item in each package, you must confirm or decline the items.
- To confirm items, select the applicable number of items in the Confirmed dropdown.
- If you confirm fewer items than the total number of items, the remainder appears in the Decline field and the Decline Reason appears.
- Select the appropriate Decline Reason from the dropdown.
- If you are not ready to confirm the order, click or tap the Save & Exit button. Your changes are saved and you return to the Shipped Orders Pending Package Check-in. However, you must return and Confirm the orders to release them for pick up.
- If you are finished reviewing and updating the order, click or tap the Confirm button. Your changes are saved and you return to the Shipped Orders Pending Package Check-in.
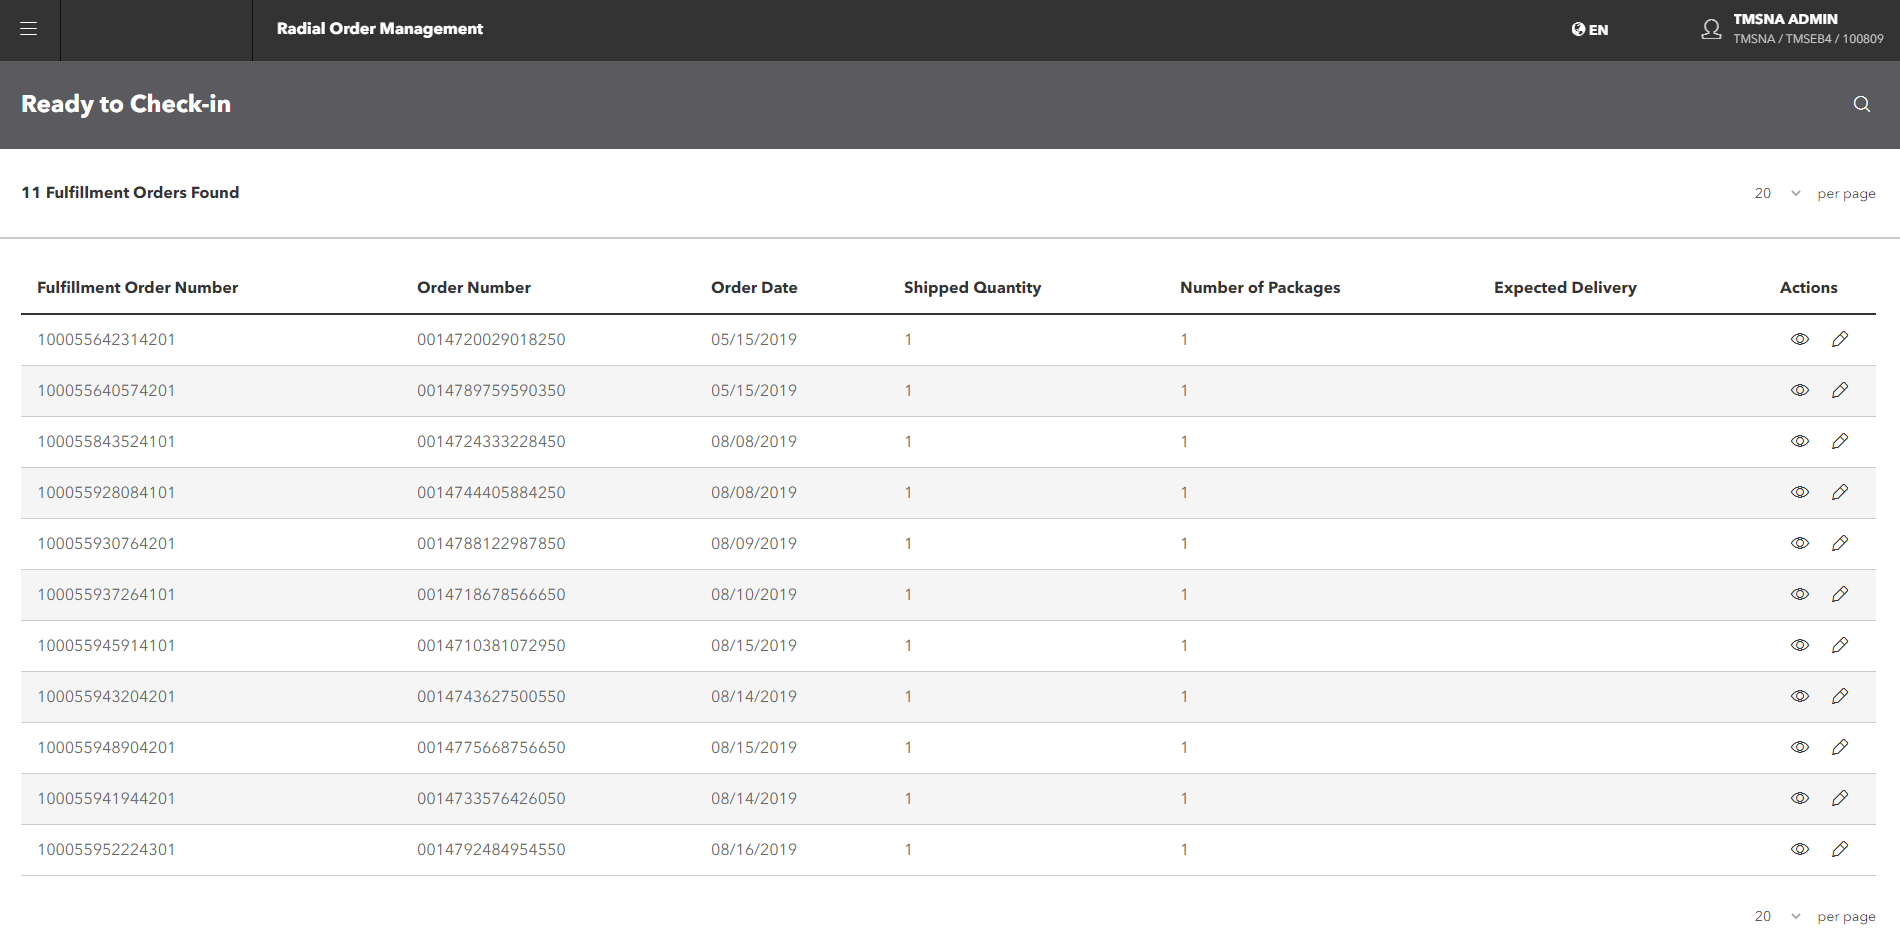
This screen lists the orders that have been shipped to your store. Each order shows the:
After you check in a package, the corresponding order moves to the Customer Pickup Queue. Once the order is in the Pickup queue, there is no difference between ISPU![]() In-Store Pickup. and STS
In-Store Pickup. and STS![]() Ship-to Store. orders. For details on the pickup process, see Prepare Order for Customer Pickup (In-Store Pickup/Ship-to Store).
Ship-to Store. orders. For details on the pickup process, see Prepare Order for Customer Pickup (In-Store Pickup/Ship-to Store).
Check In Orders Sourced from the Pickup Store
- From the Dashboard, click or tap the My Store Orders Check In tile for the Ship-to Store workflow.
Depending on your role, either the Queues screen or the Shipped Orders Pending Package Check-in screen appears.
If you have permission to access multiple fulfillment nodes, you see the Queues screen. It displays the orders, items, and quantities for all the nodes that you have access to. From this screen, you can view the orders to waiting for customer pickup at each node.
To see the orders that are waiting for customer pickup, click the
icon for the queue that you want to see. The My Store Orders Ready to Check-in screen appears.If you have access to only one node, the My Store Orders Ready to Check-in screen appears automatically.
- Fulfillment Order Number
- Order Number
- Order Date
- Shipped Quantity: the total number of items in the order
- Number of packages in the order
- Expected Delivery date to the shopper
- Actions that you can perform.
- To review and confirm the order, click or tap the icon. The View Packages screen appears.
- For each item in each package, you must confirm or decline the items.
- To confirm items, select the applicable number of items in the Confirmed dropdown.
- If you confirm fewer items than the total number of items, the remainder appears in the Decline field and the Decline Reason appears.
- Select the appropriate Decline Reason from the dropdown.
- If you are not ready to confirm the order, click or tap the Save & Exit button. Your changes are saved and you return to the Shipped Orders Pending Package Check-in. However, you must return and Confirm the orders to release them for pick up.
- If you are finished reviewing and updating the order, click or tap the Confirm button. Your changes are saved and you return to the Shipped Orders Pending Package Check-in.
This screen lists the orders that have been shipped to your store. Each order shows the: