Manage Print Templates
Radial provides default templates for print documents, but you can customize these templates to suit your business. Once customized, you can:
- View a template
- Copy a template
- Delete a template
- Edit a template
- Publish a template.
For details on the template attributes that you can use to customize your documents, see Print Attributes.
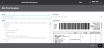
The templates support the following barcode generators so that you can display a barcode on your documents:
- Code 128
- Code 39
To manage Print Templates:
- Click or tap the
 icon in the upper-left corner. The Main Menu appears.
 - Click or tap Omni Administration. The Omni Administration submenu appears.
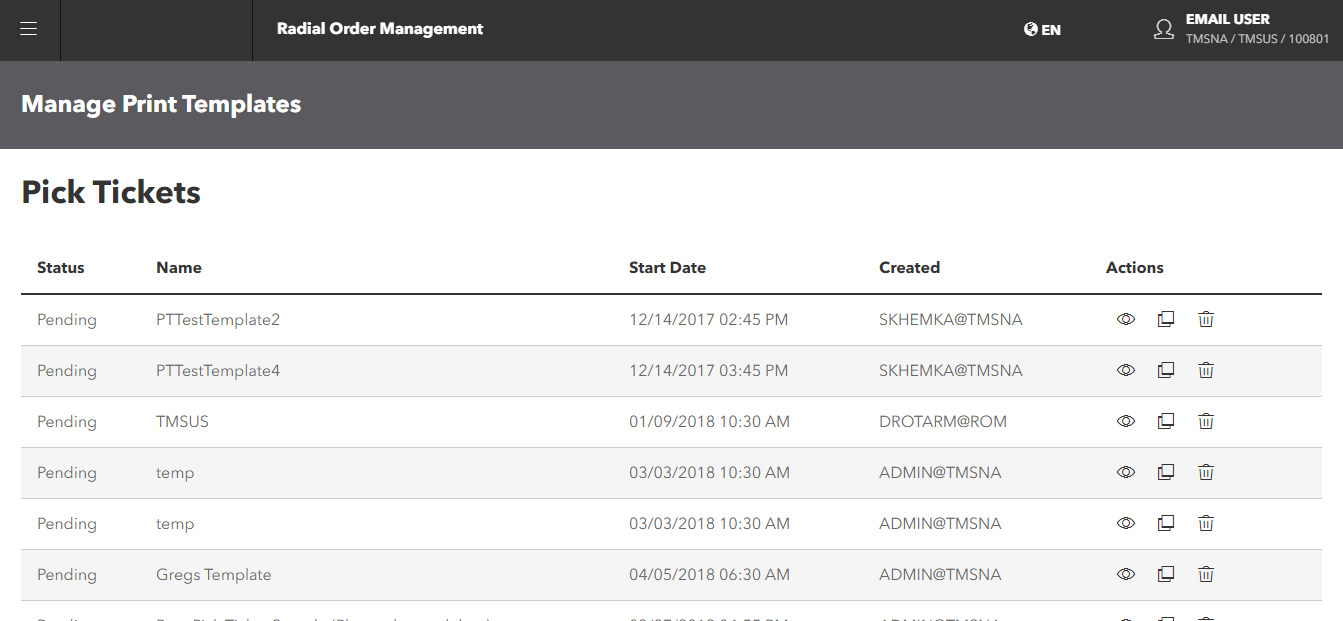
- Click or tap Print Documents. The Manage Print Templates screen appears.
This screen lists all of the templates that currently exist, grouped into the following categories:
- Pick Tickets
- Hold Tickets
- Customer Receipts
- Delivery Slips
- Pack Slips
- Order Created Receipts
- Shipping Labels
- Return Receipts
The columns on this screen describe the templates:
- Status: Indicates the state of the template:
- System
- Draft
- Pending
- Active
You cannot edit or delete System templates; you can only copy them. You can only edit Draft templates. When you create a template, the status is Draft. Once published, the status changes to Pending, if the Start Date is in the future. Once the Start Date occurs, the status becomes Active.
- Name
- Start Date: Indicates when the template is available.
- Created: Indicates the user who created the template.
- Actions
 View a template. When you click this icon, the template appears in a new window. You can use this function to preview your document. Note: The preview always shows static data.
 Copy a template.
 Delete a template. The
  Edit an existing template.
 Publish a template.
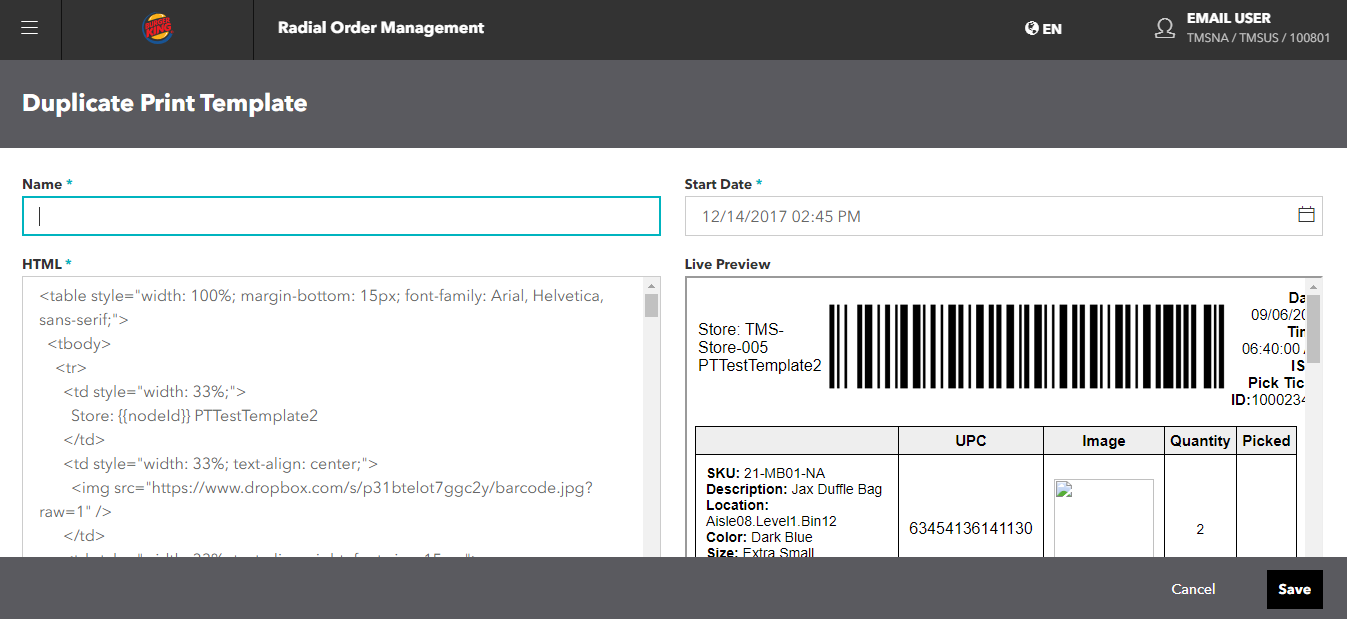
- To customize a template, click or tap the icon. The Duplicate Print Template screen appears.
- Enter a name for the new template. (Required)
- Enter the date and time for this template to be available.
- If you are customizing a Pack Slip for a Radial Retail Connection store, enter the Order Source Code and Order Source Type. (These values are defined in core sourcing rules.)
- In the HTML field, you see the HTML code for the template. Edit this code to customize the template. As you edit the code, you can see your changes instantly in the Live Preview pane.
- When you are satisfied with your changes, click or tap the Save Print Template button. The customized template now appears in the list with a status of draft. To discard your changes, click or tap the Cancel button.
- To activate the template, click or tap the icon. Depending on the Start Date, the status changes to Active or Pending.
- To edit a template, click or tap the icon of the template that you want to edit. The Edit Print Template screen appears.
- In the HTML field, you see the HTML code for the template. Edit this code to customize the template. As you edit the code, you can see your changes instantly in the Live Preview pane.
- When you are satisfied with your changes, click or tap the Save Print Template button. The customized template now appears in the list with a status of draft. To discard your changes, click or tap the Cancel button.
- To activate the template, click or tap the icon. Depending on the Start Date, the status changes to Active or Pending.
- To delete a template, click or tap the icon. A popup asks you to confirm the deletion. To continue with the deletion, click or tap Confirm; otherwise, click or tap Cancel.