Add an Item
In rare cases, you may need to add an item to inventory.
To add an item:
- Click or tap the
 icon in the upper-left corner. The Main Menu appears.
 - Click or tap Catalog & Inventory. The Catalog & Inventory submenu appears.
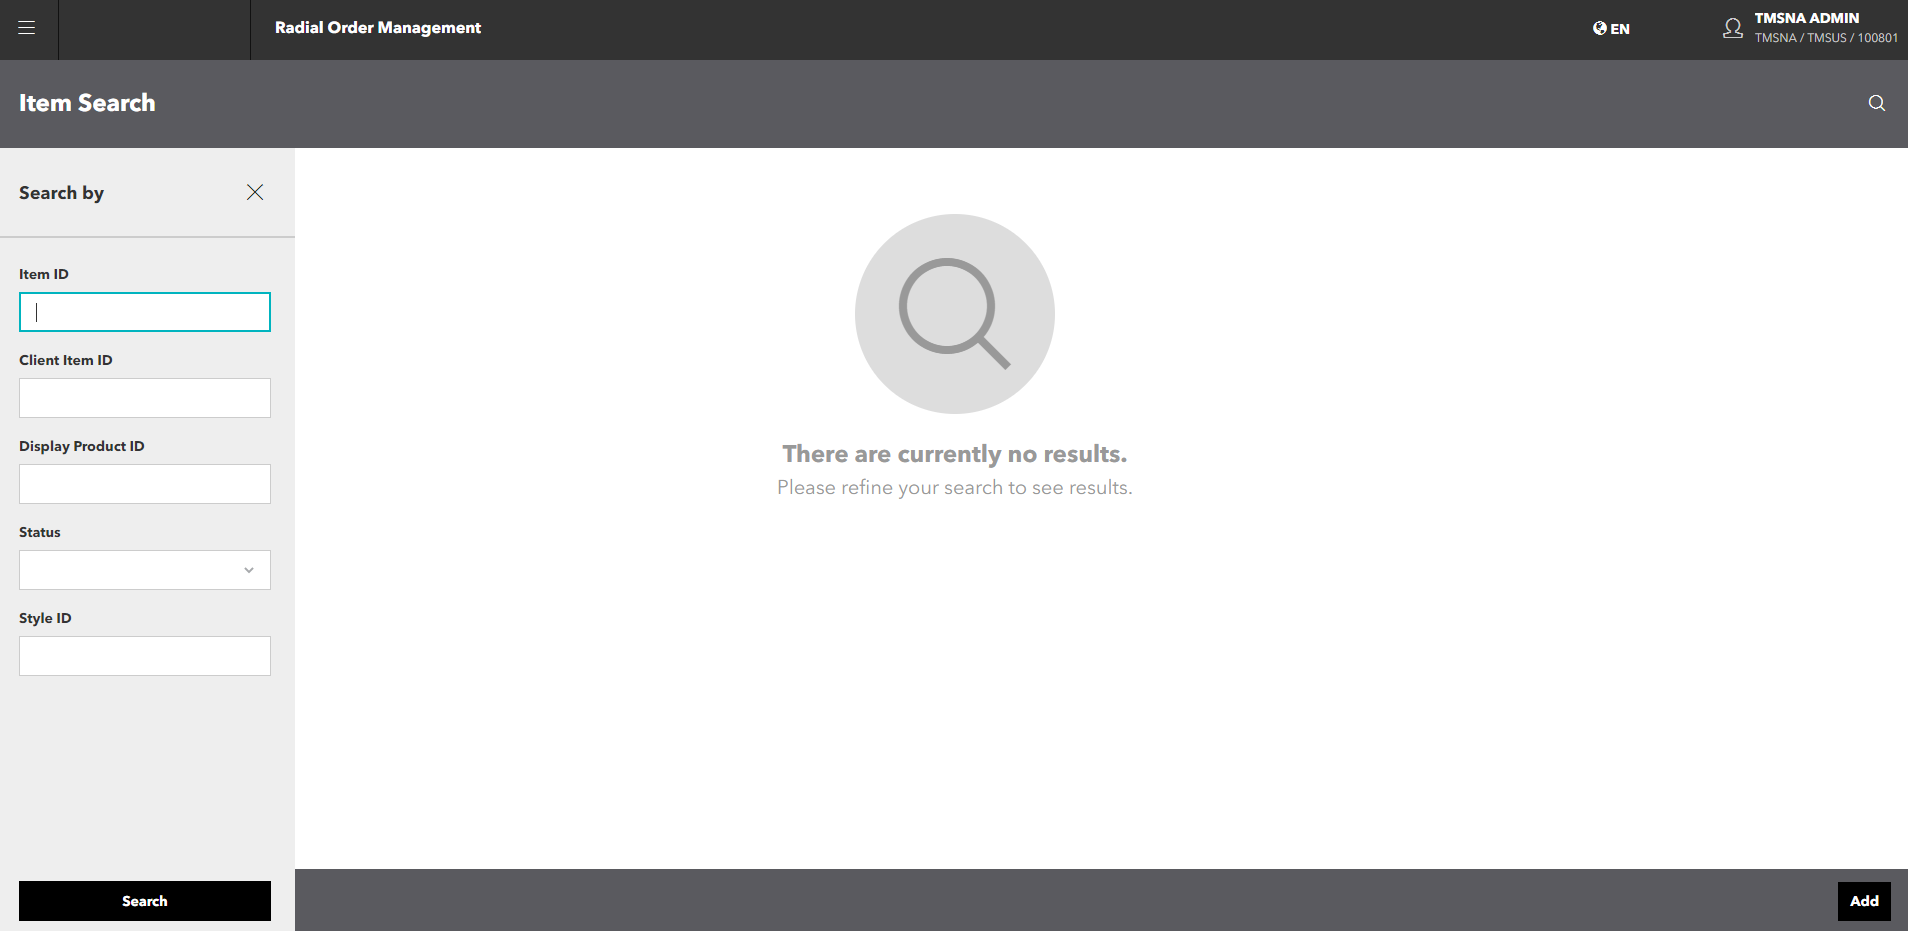
- Click or tap Item Search. The Item Search screen appears.

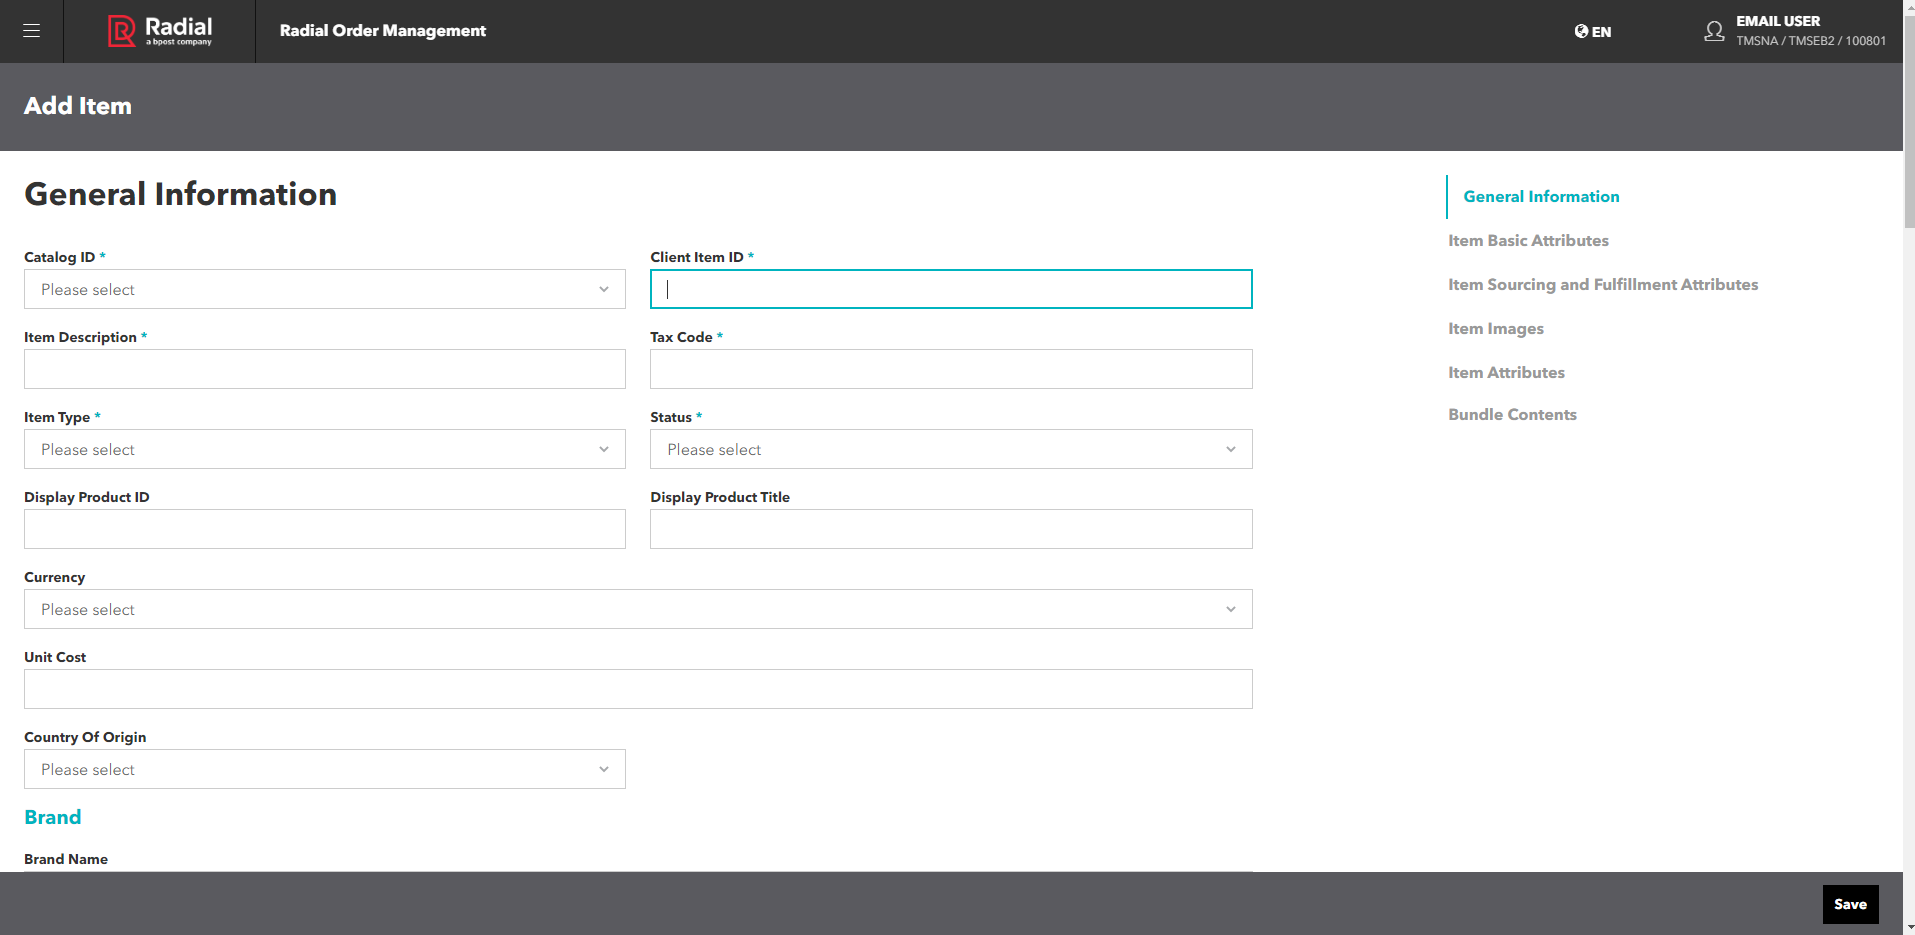
- Click or tap the Add button in the Action bar. The Add Item screen appears.

This screen has six sections:
- General Information
- Item Basic Attributes
- Item Sourcing and Fulfillment Attributes
- Item Images
- Item Attributes
- Bundle Contents
- Enter the General Information.
- Catalog ID
- Client Item ID
- Item Description
- Tax Code
- Item Type
 A category that describes the item; for example, regular merchandise, gift card, or gift wrap.
 - Status
- Display Product ID
- Display Product Title
- Currency
- Unit Cost
- Country of Origin
- Brand Name
- Brand Description: Click or tap the Add Brand Description button, then enter a description and select the Locale. To add more than one Brand Description, click or tap the Add Color Description button again. To delete a Brand Description, click or tap the
 icon to the right of the Locale field.
 - UPC: Click or tap the Add UPC button, then select the UPC type and enter the UPC number.
- Enter the Item Basic Attributes.
- Sales Class Indicates whether an item can be backordered against future inventory.
- Color Attributes, including:
- Color Code
- Locale
- Description: Click or tap the Add Color Description button, then enter a description and select the Locale. To add more than one Color Description, click or tap the Add Color Description button again. To delete a Color Description, click or tap the icon to the right of the Locale field.
- Size Attributes: Click or tap the Add Size button, then enter the Size Code, Description, and select the Locale. To add more than one Size, click or tap the Add Size button again. To delete a Size, click or tap the icon to the right of the Locale field.
- Style, including:
- Style ID
- Style Description
- Sales Class
- Enter the Item Sourcing and Fulfillment Attributes.
- Drop Ship Supplier Information
- Drop Ship Supplier Name
- Drop Ship Supplier Number
- Drop Ship Supplier Part Number
- Item Eligibility
- ISPU Eligible
- STS Eligible
- SFS Eligible
- Associate Delivery Eligible
- Set Infinite Inventory
- Eligible to Modify
- Hassle-Free Returns Eligible
- Shipping Method Optimization Eligible
- Sourcing Attributes
- Hazardous Material Identifier
- Hazardous Material Code
- Item Shipping Dimensions
- Mass: Weight Unit of Measure and Item Display Weight
- Packing: Dimension Unit of Measure, Item Package Width, Item Package Length, Item Package Height, Item Package Type (for example, Box or Polybag)
- Shipping Mass: Weight Unit of Measure, Item Shipping Weight
- Shipping Packing: Dimension Unit of Measure, Item Shipping Package Width, Item Shipping Package Length, Item Shipping Package Height
- Dimensional Weight: Dimension Weight UOM, Dimensional Weight, Freight Class A classification of freight as defined by the National Motor Freight Traffic Association (NMFTA). A shipment’s freight class determines the carrier’s shipping charges., Ship Alone
- Shipping Charge/Surcharge Override
- Shipping Surcharge Override
- Shipping Charge Override
- Fulfillment Attributes
- Min Shipment Processing Days
- Max Shipment Processing Days
- Min Orderable Quantity
- Max Orderable Quantity
- Street Date The date a particular product is released for sale to the general public.
- ATP The quantity of inventory that can be used to fulfill orders on or before a specific date. Also called Available to Promise. Config ID: If you don't know the ATP Config ID, click or tap the Lookup button. The Manage ATP Rules screen pops up. Find the applicable rule, then click or tap Select.
- Drop Ship Supplier Information
- Add the Item Images.
- Click or tap the Add Image button.
- Complete the following fields:
- Image Type
- Image View
- Image Height
- Image Width
- Image URL
- To add additional images, continue to click or tap the Add Image button.
- To delete an image, click or tap the icon to the right of the Image View field.
- Add the Item Attributes.
- Click or tap the Add Attribute button.
- Enter the name of the attribute.
- Enter the value or the attribute.
- If the item is the parent item for a bundle, specify the child items that make up the bundle.

If the items in the bundle must be shipped together, activate the Ship Together toggle
If you activate this toggle, all the items in the bundle are sourced from a single location. If ROM cannot source the items from the same location, the order is canceled. If you don't activate this toggle, the items in the bundle can be sourced from different locations and shipped separately.
However, if one item in the bundle is out of stock or pick declined, the order is canceled.
Add the items that make up the bundle.
In the Item ID field, click or tap the Lookup button to search for the item.
In the Quantity field, enter the quantity of this item to include in the bundle.
In the Price Percentage field, enter the percentage of the bundle price allocated to this item. For example, if the bundle has four items, you might specify that each item is 25% of the bundle price.
To add the next item, click or tap the Add Bundle Item. A new set of fields appears.
To delete an item, click or tap the
icon next to the item that you want to delete.- When you have completed all of the necessary data entry, click or tap the Save button.